

Welcome to Supportbench
Supportbench brings your customer conversations, the people handling them, and the information needed to solve them into one workspace.
Required · Start here
Supportbench brings your customer conversations, the people handling them, and the information needed to solve them into one workspace. This guide starts with an already-created Supportbench Core trial account. By the end of the learning path, your administrator and an agent will have completed a controlled support interaction and checked that the channels you chose work.
Before you begin
Sign in to your own account using the invitation or account address your administrator supplied. You need an administrator with permission to change account settings for the setup chapters, and an agent login for the final practice. An agent is a member of your support staff. A customer contact is someone your team supports; customers do not need an agent seat.
Choose a real internal colleague to help with the final test. Use a mailbox and test customer identity you control when you test actual delivery. The fictional addresses in these guides are examples, not destinations for real email.
Follow one example from setup to closure
Northstar Software is the business providing support. Harbor Manufacturing is its customer company. Jordan Lee is Harbor’s contact. Jordan reports “Monthly report export fails.”
Northstar will receive that request as a case, route it to a queue of work waiting for the support team, assign an agent, record a customer reply and an internal note, and close it after checking the outcome. You will learn each term before using it.
Screenshots show the signed-in Core demo. Names, modules and selected values in the demo are examples; your trial may contain different defaults. Keep useful existing settings instead of reproducing every record in the demo.
Start your setup
- Open your account and confirm that you are in the Core agent workspace. The left navigation contains areas such as Cases, Queues, Chat, Knowledge base and Customers.
- Open Settings using the gear at the lower left. Settings are grouped by purpose, including Account, Organization, Cases and Email configuration. Use Filter settings when a group is difficult to find.
- Read Understand Supportbench concepts, then configure Your Account. Account identity belongs to Northstar; do not enter Harbor as the account owner.
- Work through team organization and case handling. A small team can start with one appropriate division, one team and one queue. Review existing defaults before creating more.
- Choose at least one customer channel: email, the community portal or chat. Follow the guides marked required for your chosen channel. You can postpone channels you do not need.
- Prepare a small amount of useful knowledge, then add automation only where its purpose is clear. Intercom, Azure DevOps, assets and additional AI capabilities are optional.
- Complete Handle your first case from start to finish with an agent, then sign off the Account readiness checklist. A saved form alone does not prove that messages arrive or customers can see the intended information.
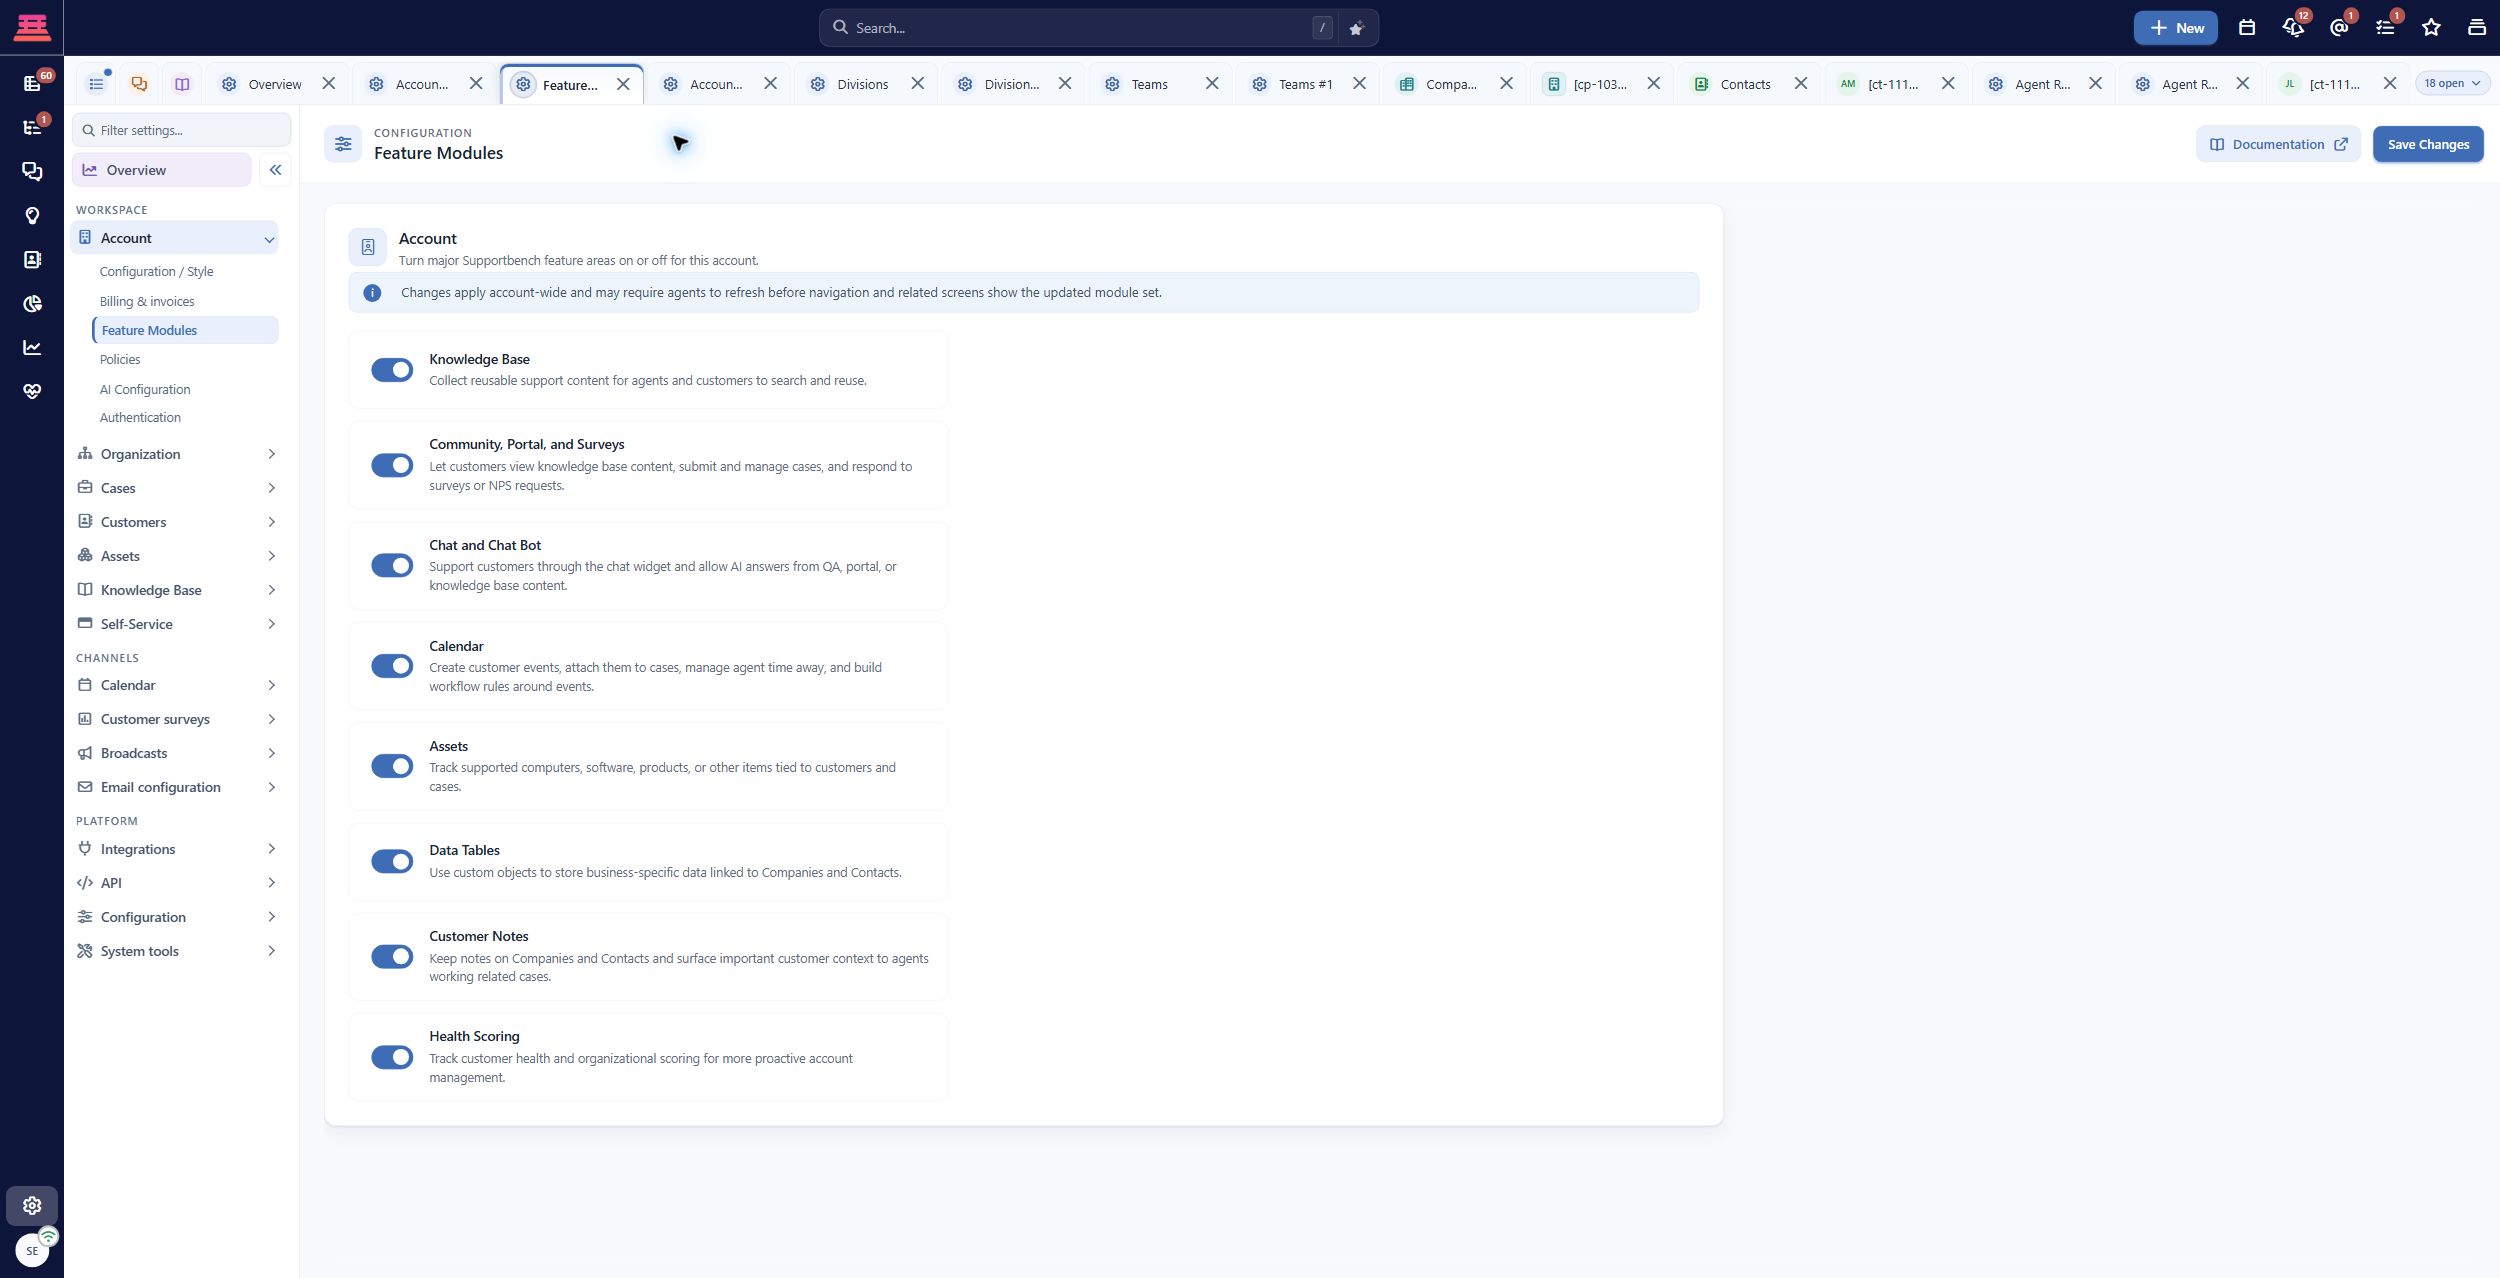
Saved Feature Modules in the demo account. Enabled demo modules are examples, not a recommendation to enable everything.
How to use these guides
Each chapter identifies its role and prerequisites, gives a worked procedure, and ends with checks and recovery steps. Required means every onboarding team should review the task; it does not mean every setting needs changing. Required for your chosen channel applies only when you use that channel. Optional means you may skip it and return later.
Use the Documentation button in a Core configuration screen or the descriptive portal links in these guides for detailed settings and operational variants. The basic steps remain here. Start your day and keep support work moving is the companion for agents after setup.
If your screen differs
If Settings is missing or saving is unavailable, ask your administrator to check your agent role; being able to view a screen does not establish editing permission. If a feature is absent, review Account → Feature Modules before assuming it is broken. Account terminology can be customized, so your account may display another word for a case. Use the function and surrounding controls to confirm the match.
If a settings workspace says Settings could not finish opening, use Retry once. If it still fails, preserve your unsaved work and report the screen name and time to your administrator.
Completion check
- You can sign in and locate Settings and Cases.
- You know which administrator and agent will complete the walkthrough.
- You have chosen your initial support channels.
- You understand that sample values must be adapted to your own business.
Updated 14 days ago