
Your Account
This is where we'll update the feel and look of your instance.
This section will help you set up your Supportbench instance the way you want it to look and feel.
When you first login you'll be brought to what we like to call, your command center:
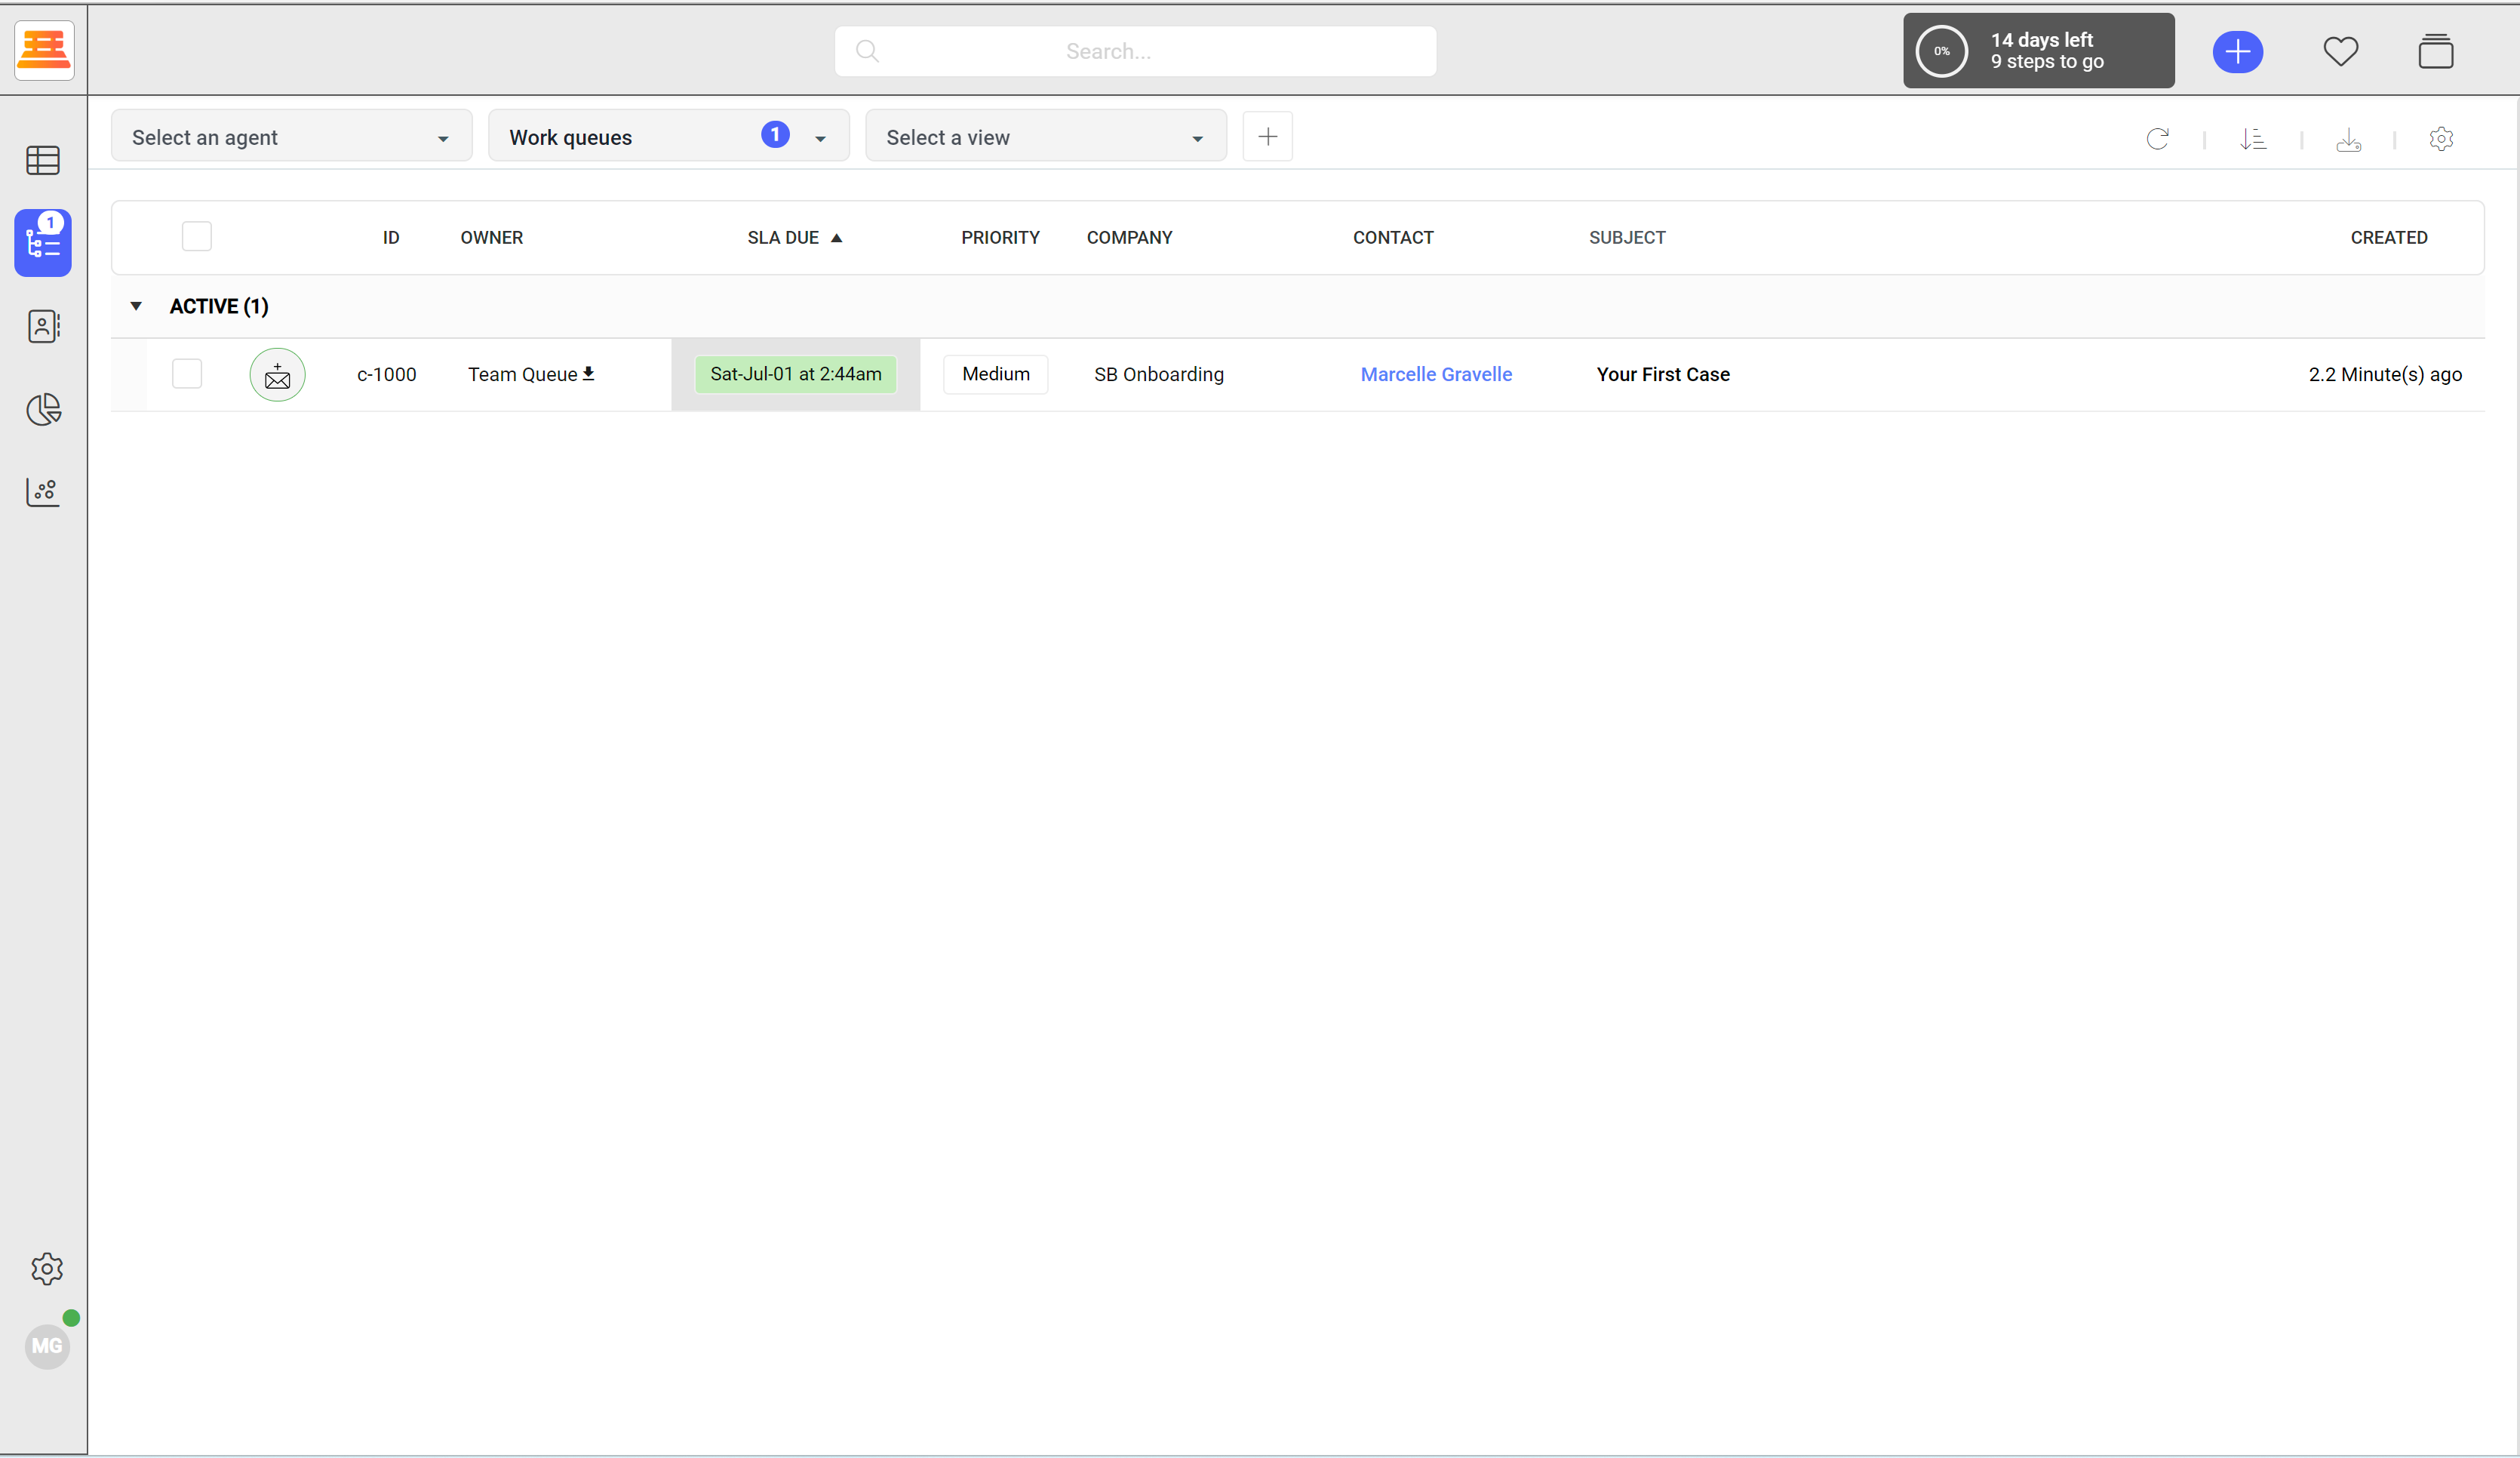
You'll see your first case sitting in your queue, but, we're going to save that for the Case Management section. What you'll want to do is click the panel that says "9 Steps to go" in the top right hand corner. Review these quickly and continue following along. We'll cross all those out as we go through our onboarding (or take the independent route and tackle them all now! You can always come back to reference this guide.)
Next, click the configuration cog and navigate to "Account" and "Configuration / Style"
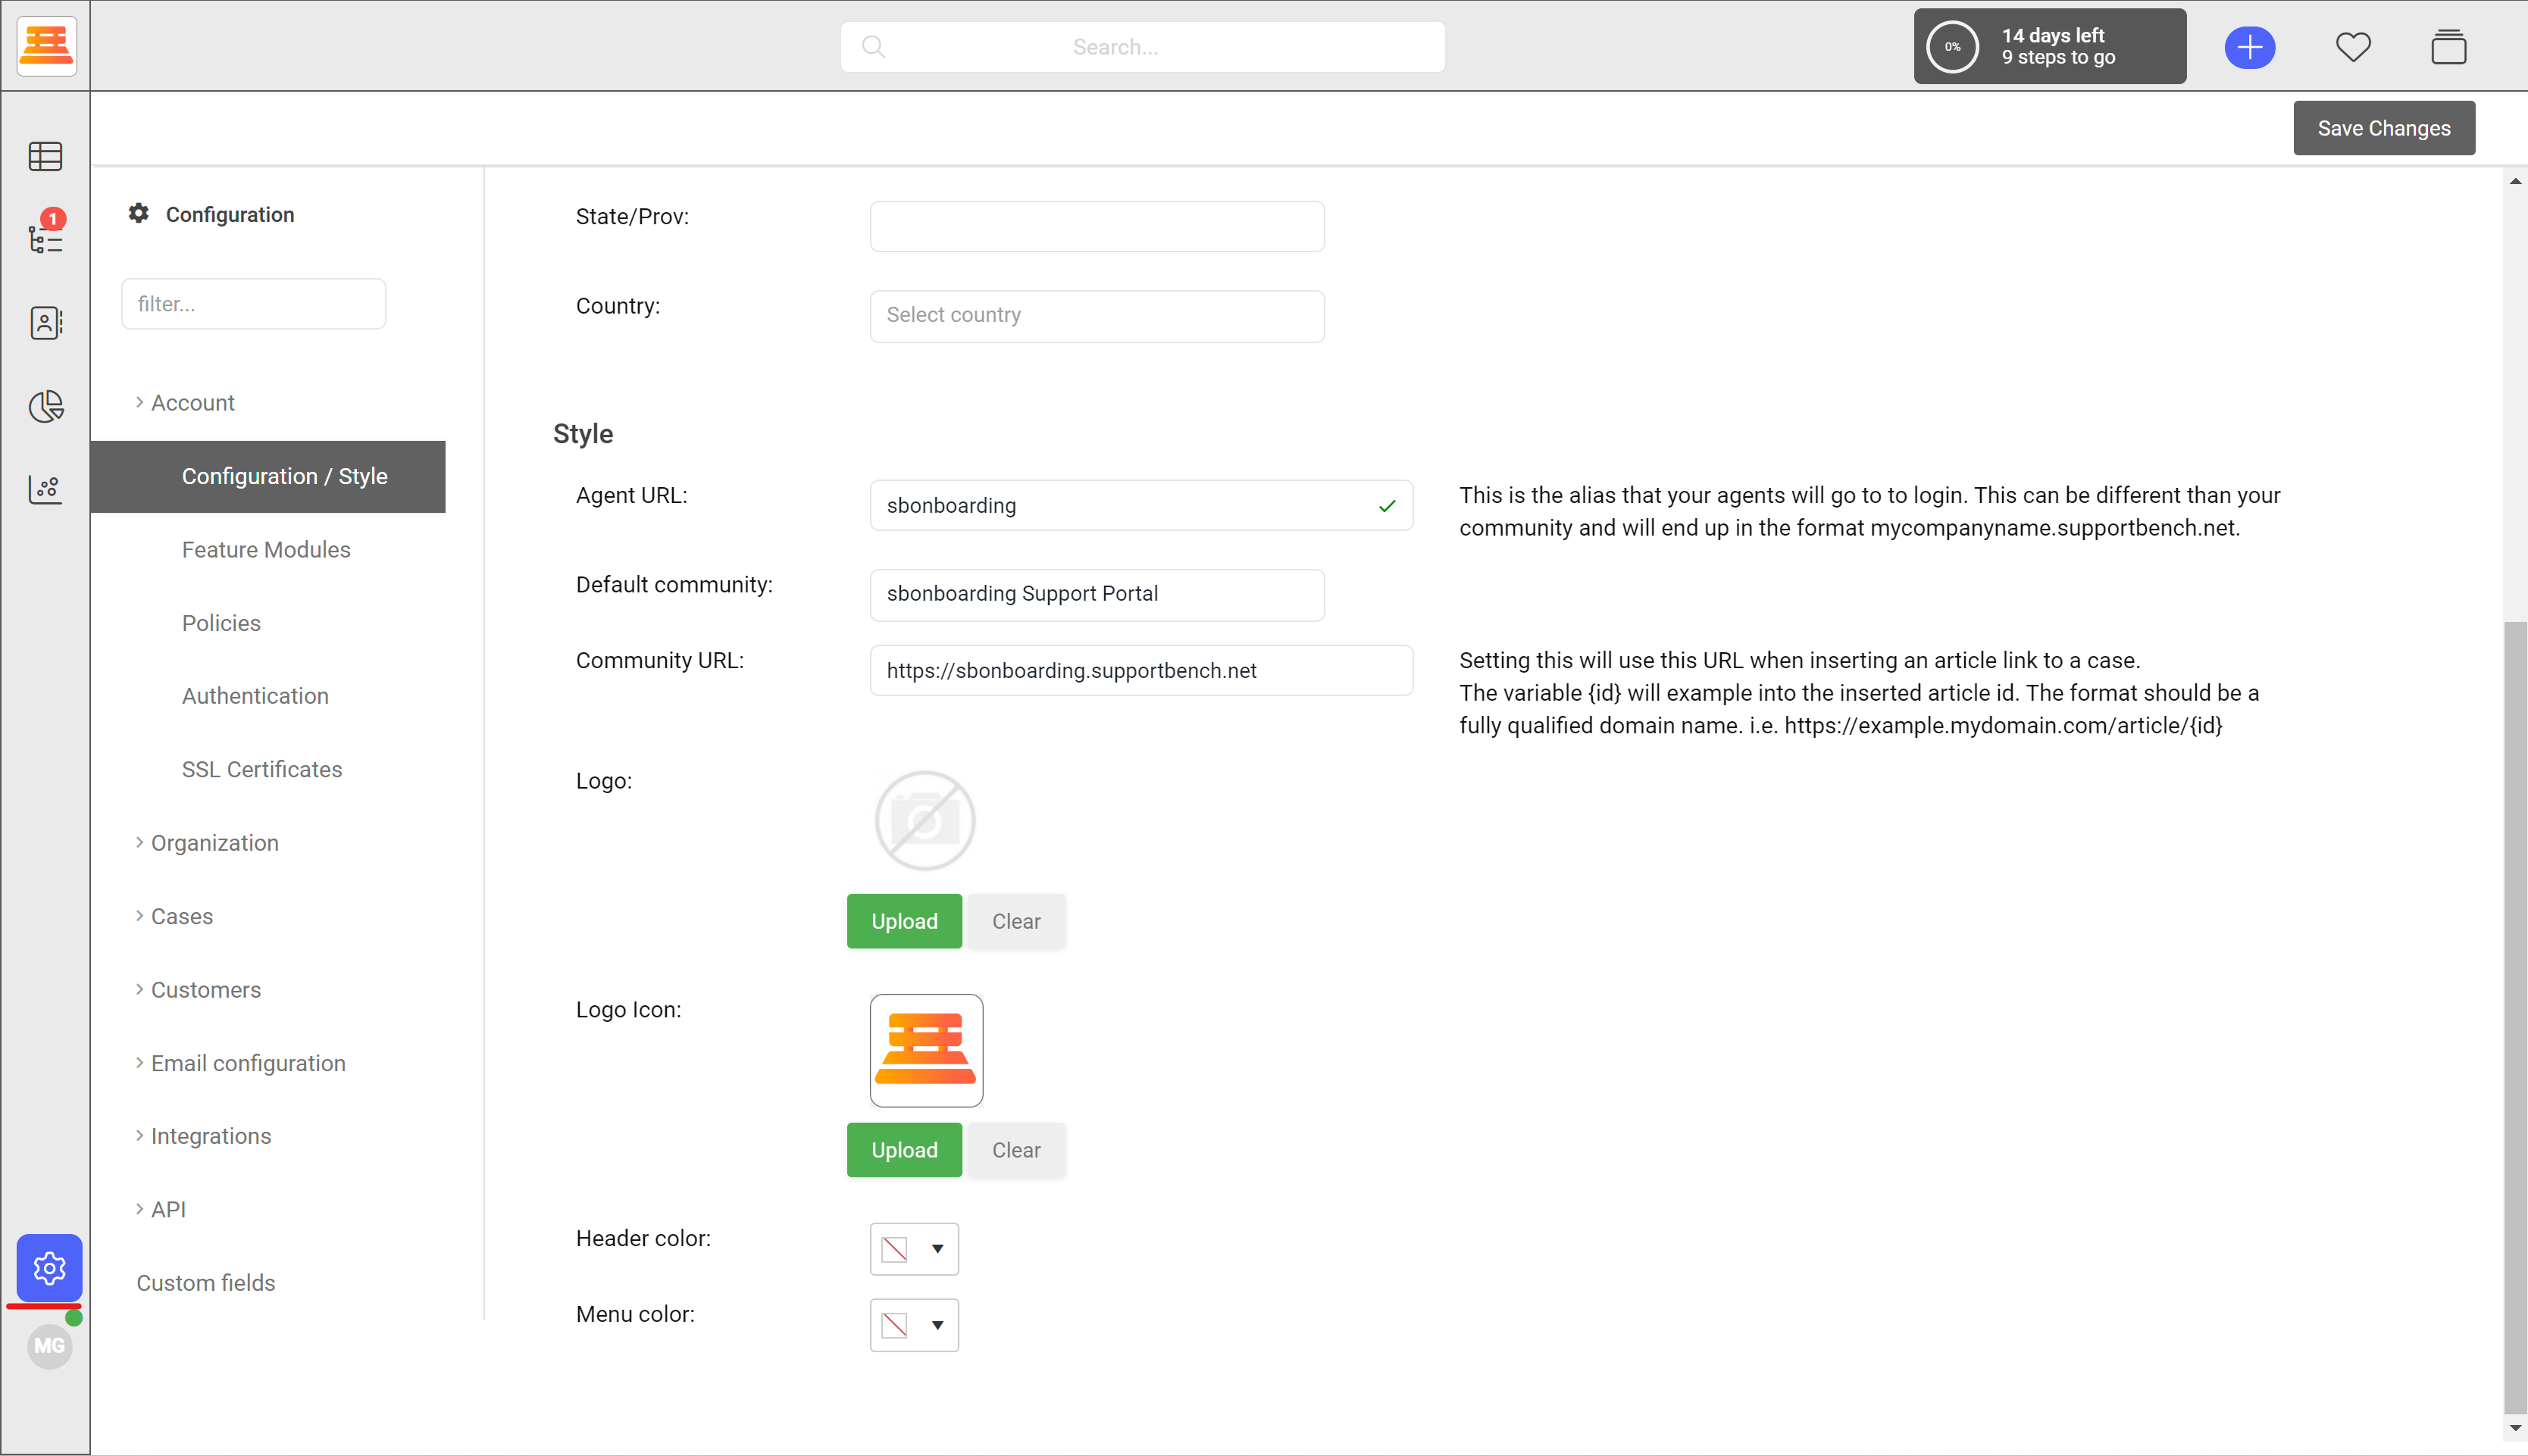
Add your address, desired Agent URL (the link your agents navigate to to login), Community URL (the link to your knowledge base articles) and your Logo / Logo Icon, then chose your instance colors! ignore the Default Community drop down for now.
step by step:
- Navigate to Configuration > Account > Configuration / Style
- Fill in your address
- Decide on your Agent URL, Default Community and Community URL
- Add your logos and decide on your instance colors!
Updated about 1 year ago