
Adding our First Queues
Queues are where your tickets will sit until an assigned agent can work on them
One of the core features of Supportbench is the use of Queues and there flexibility!
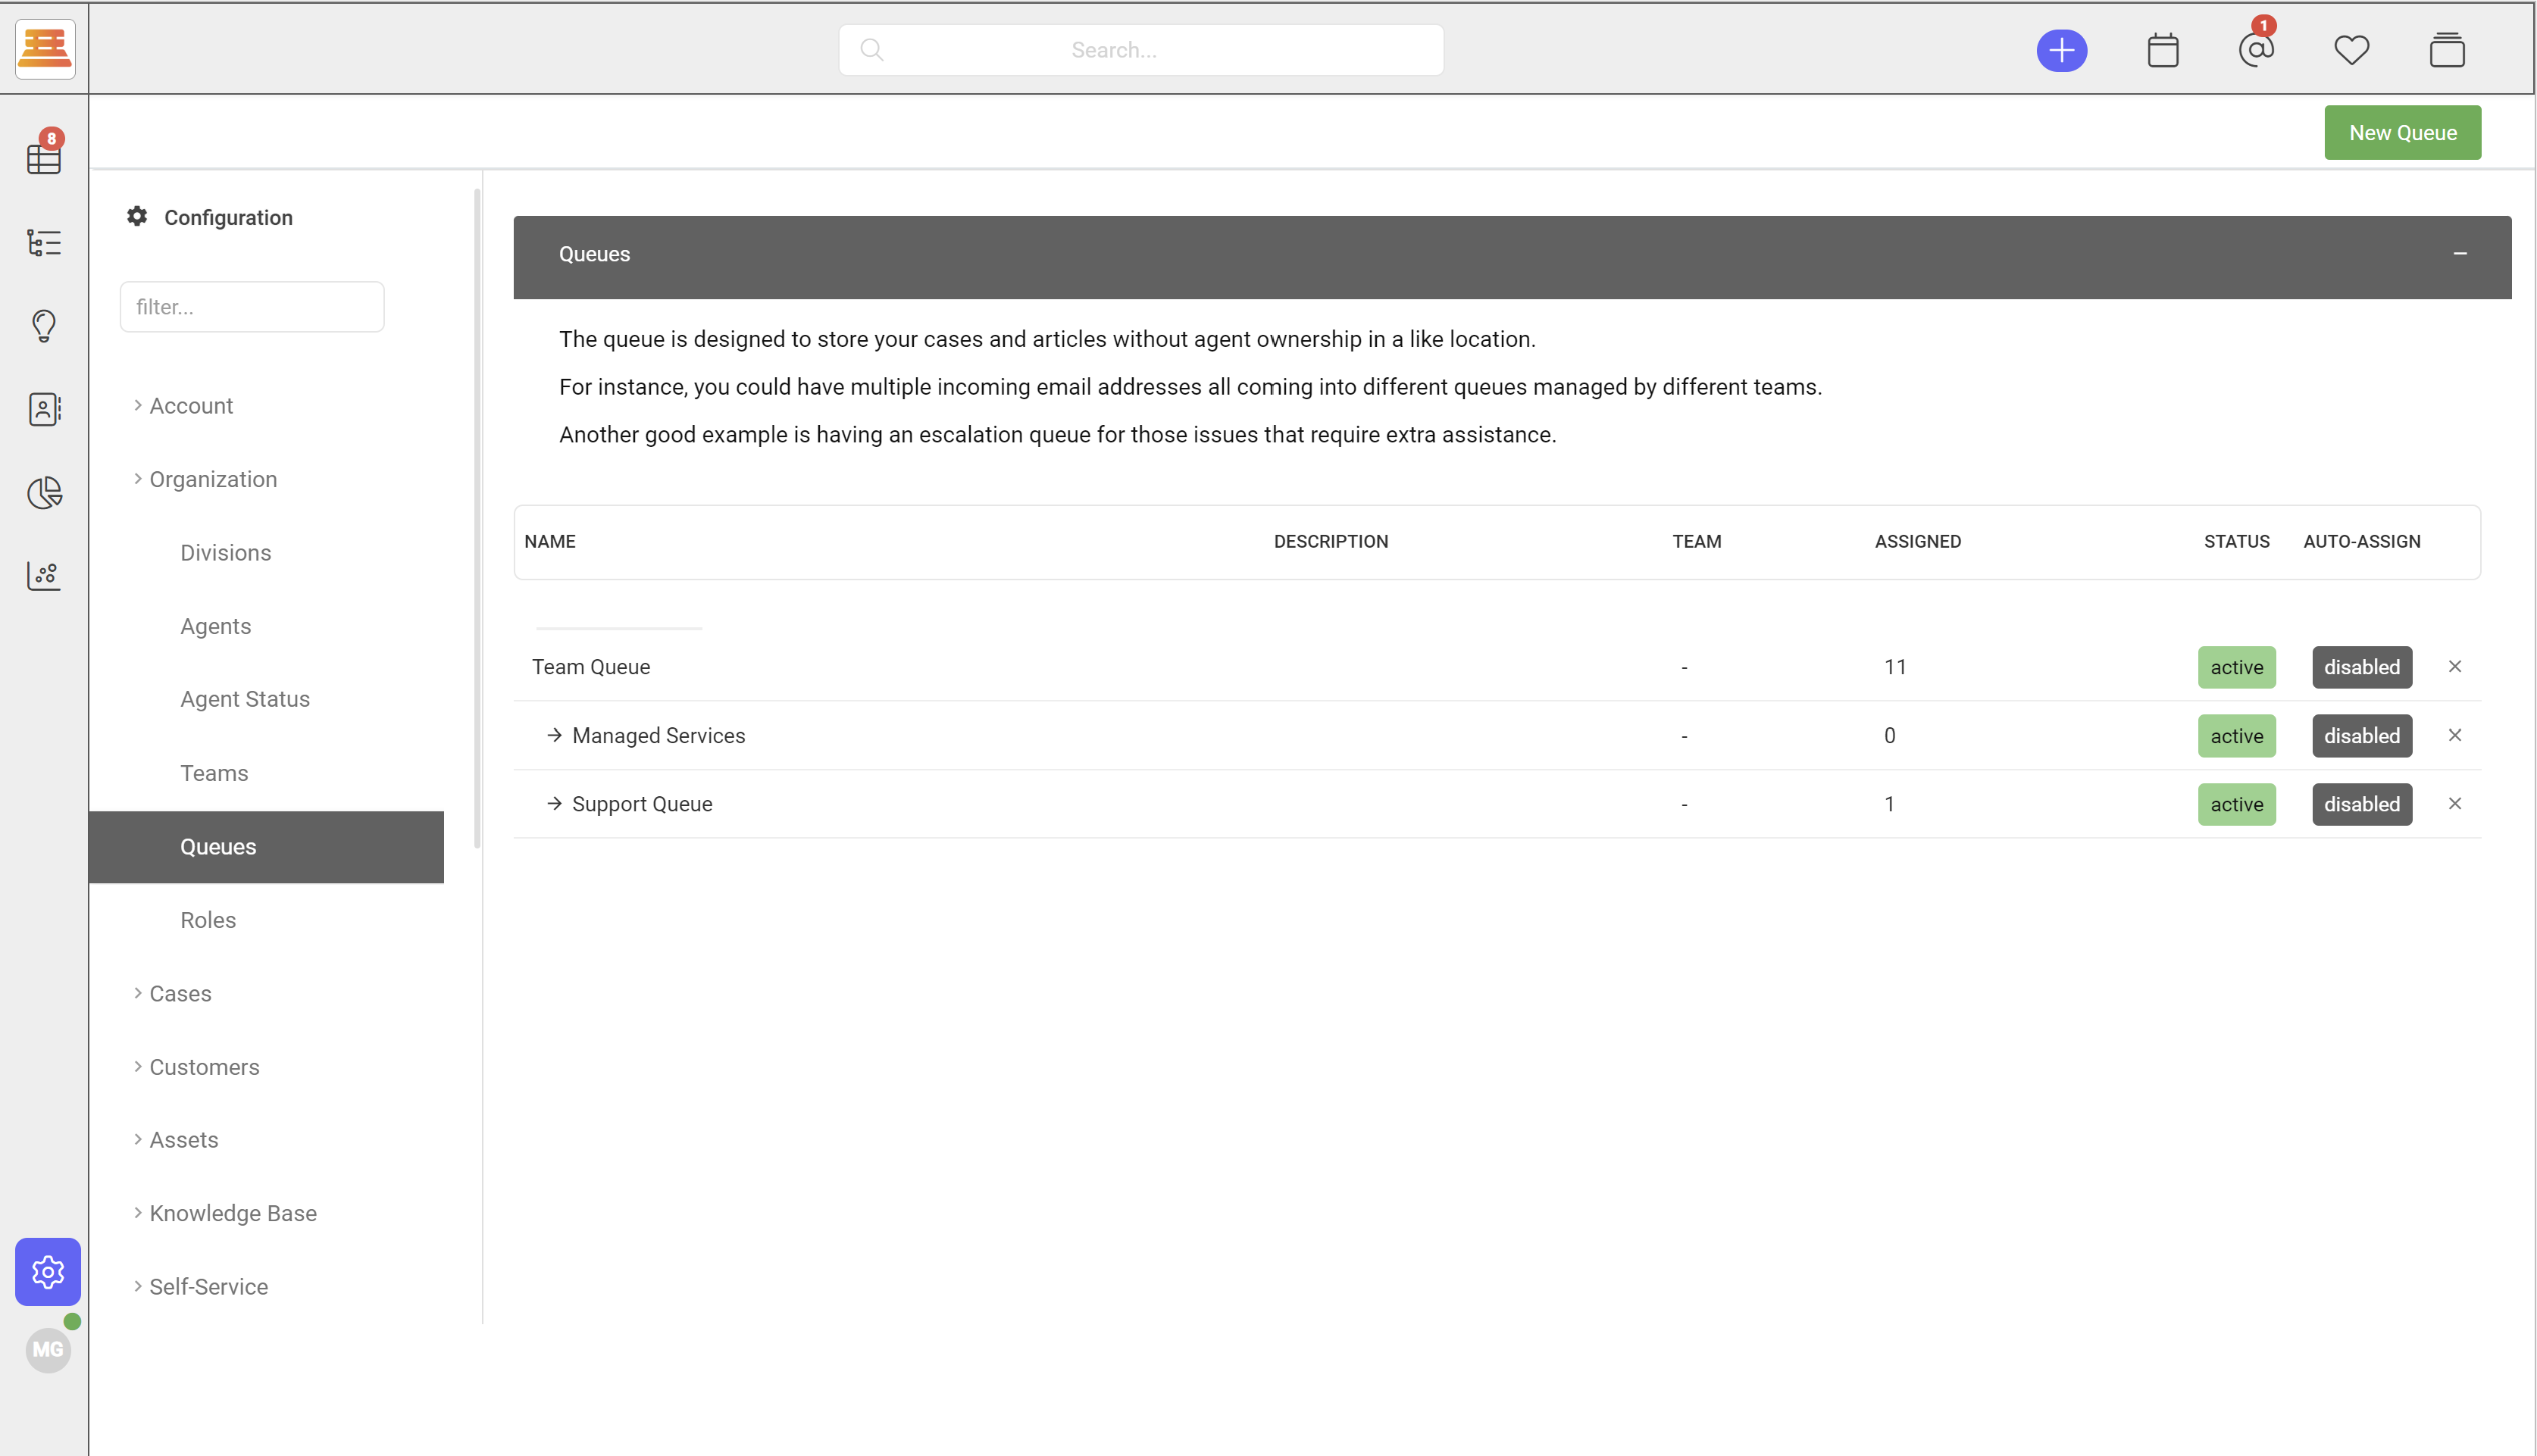
In Supportbench, queues are used to organize and manage incoming tickets or customer inquiries. Queues act as containers or lists that hold tickets awaiting processing or assignment. They help distribute and prioritize tickets among agents or teams, ensuring efficient handling of customer support requests.
You'll already have a team queue setup, but you can start adding queues for your teams to work out of such as Sales, Managed Services and Support by.
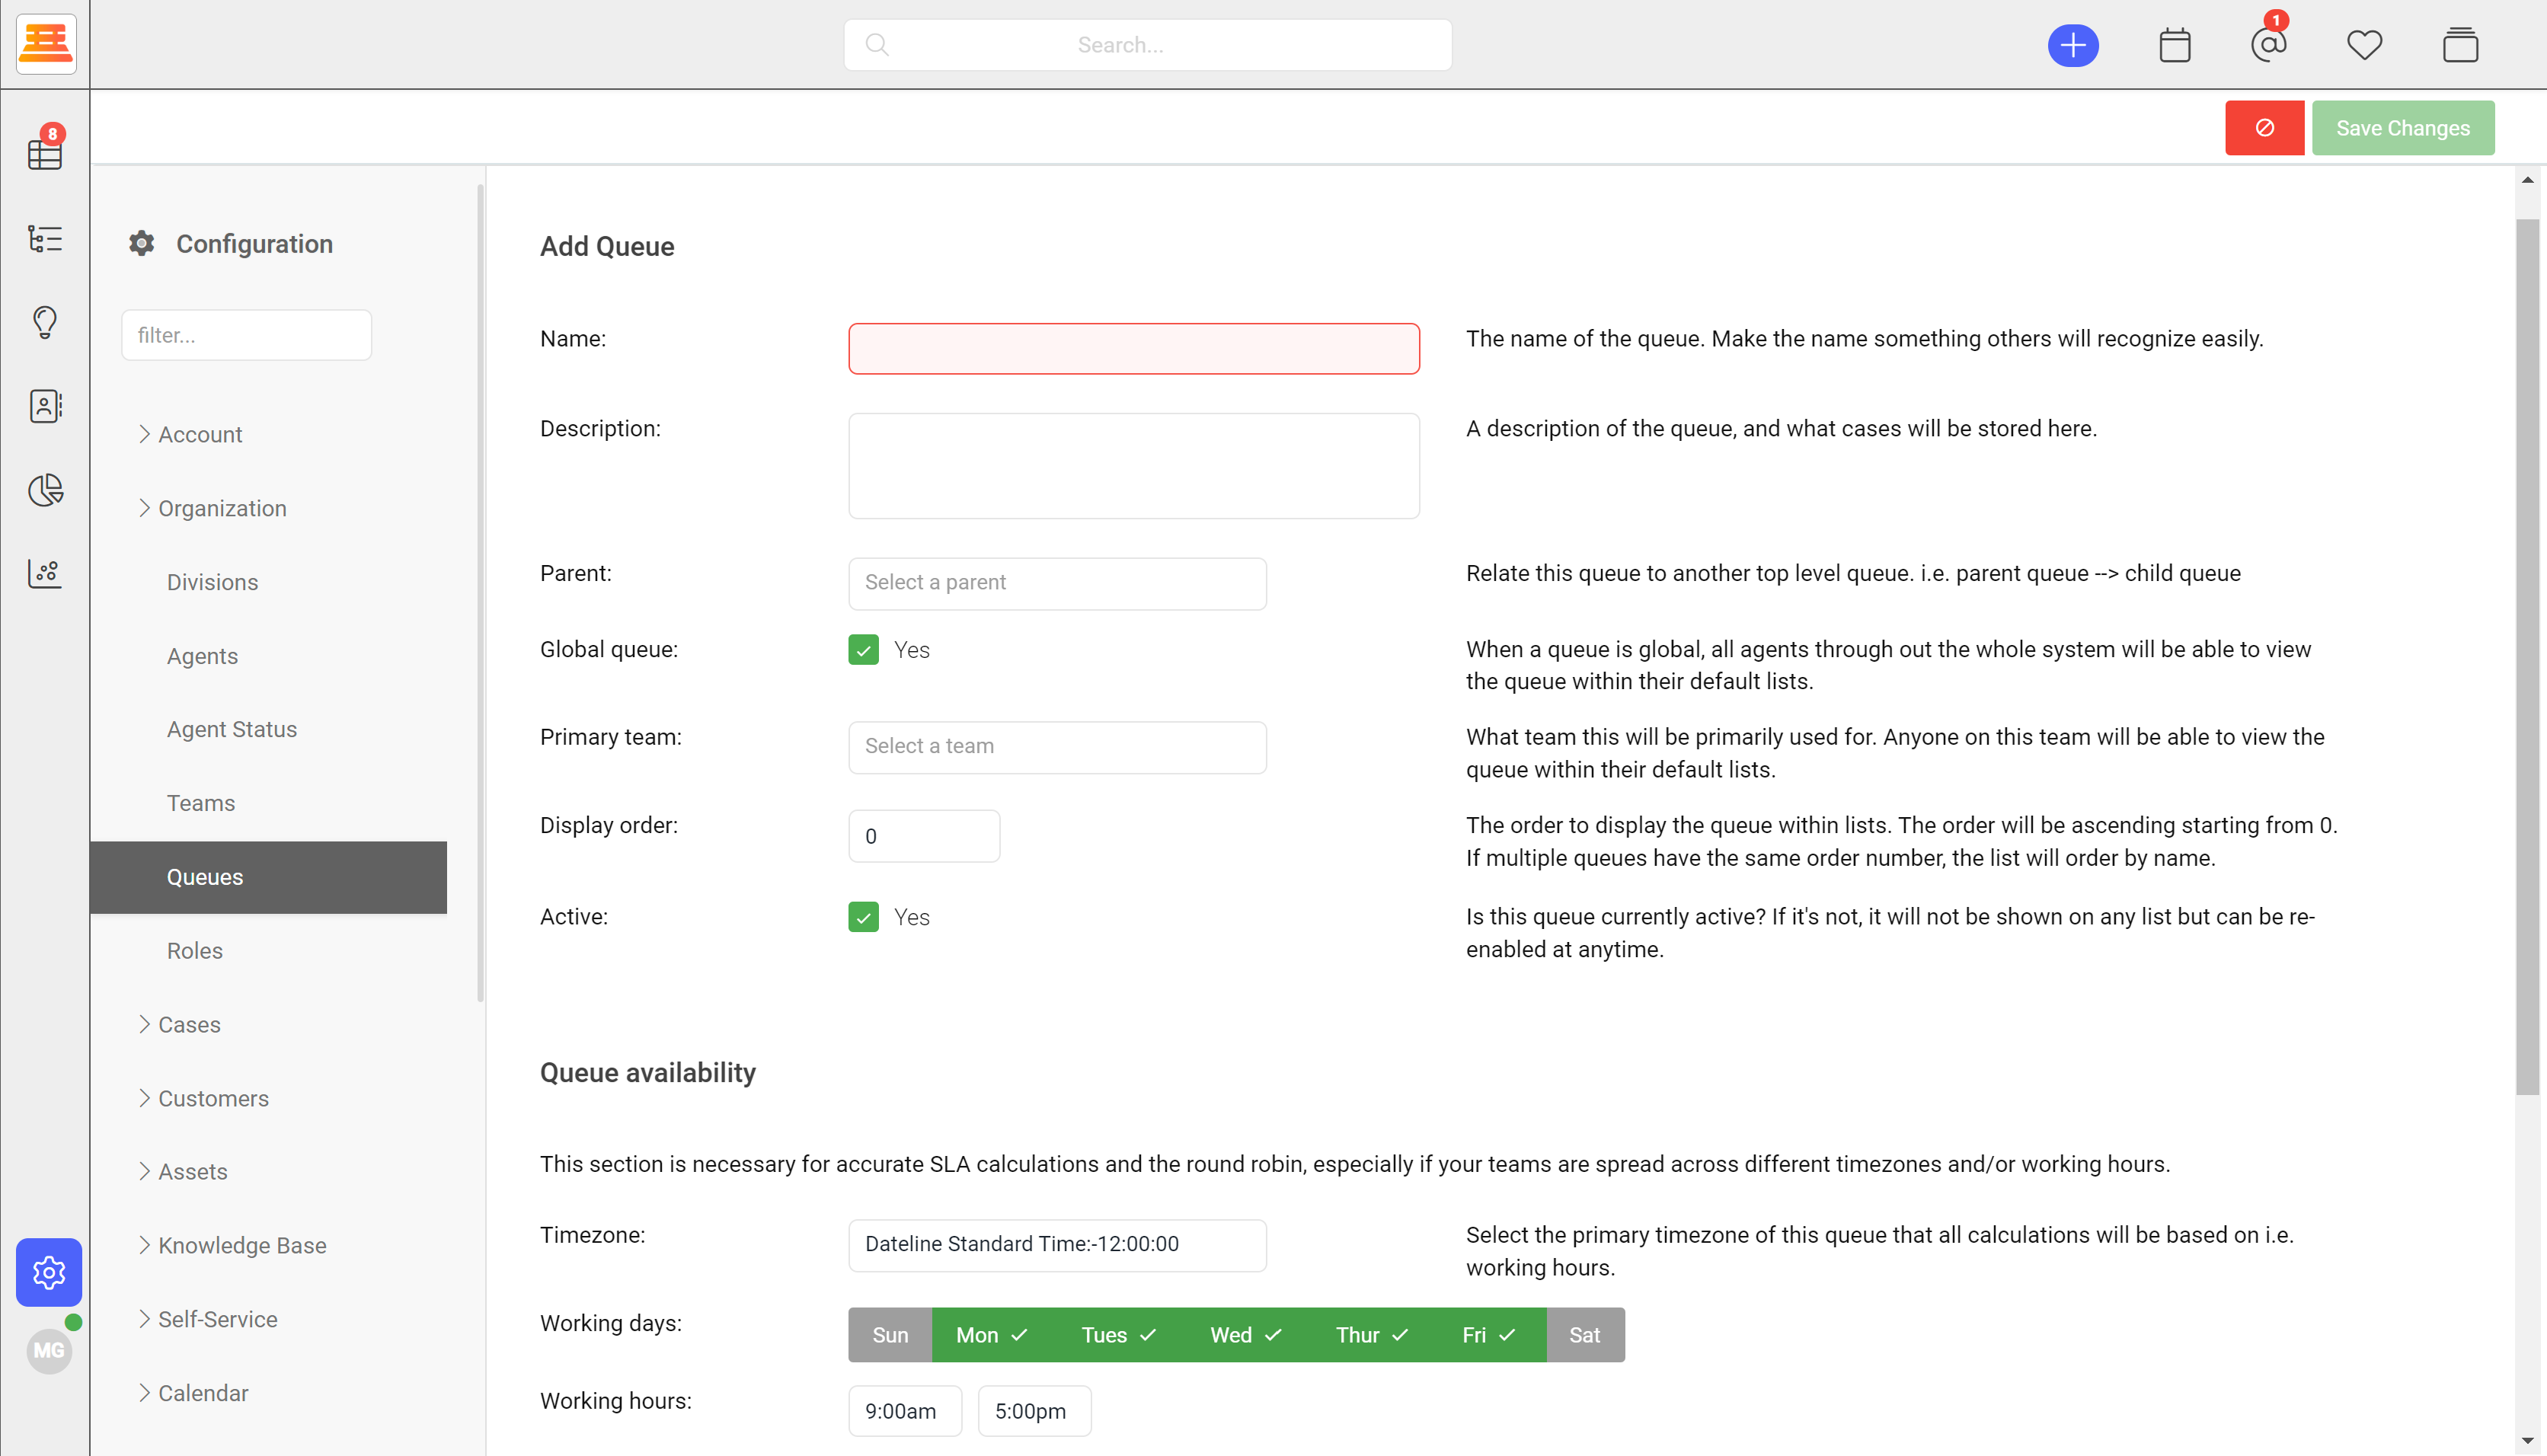
While making your queues, you'll be asked to fill in a set of parameters including the team that will be working out of the queue (if you want the queue to be used by more than 1 team, no worries about setting this.)
You can start adding agents to queues if you've created your agents profiles. However, you can also add agents to queues when creating their accounts. So no worries on adding anyone to these just yet!
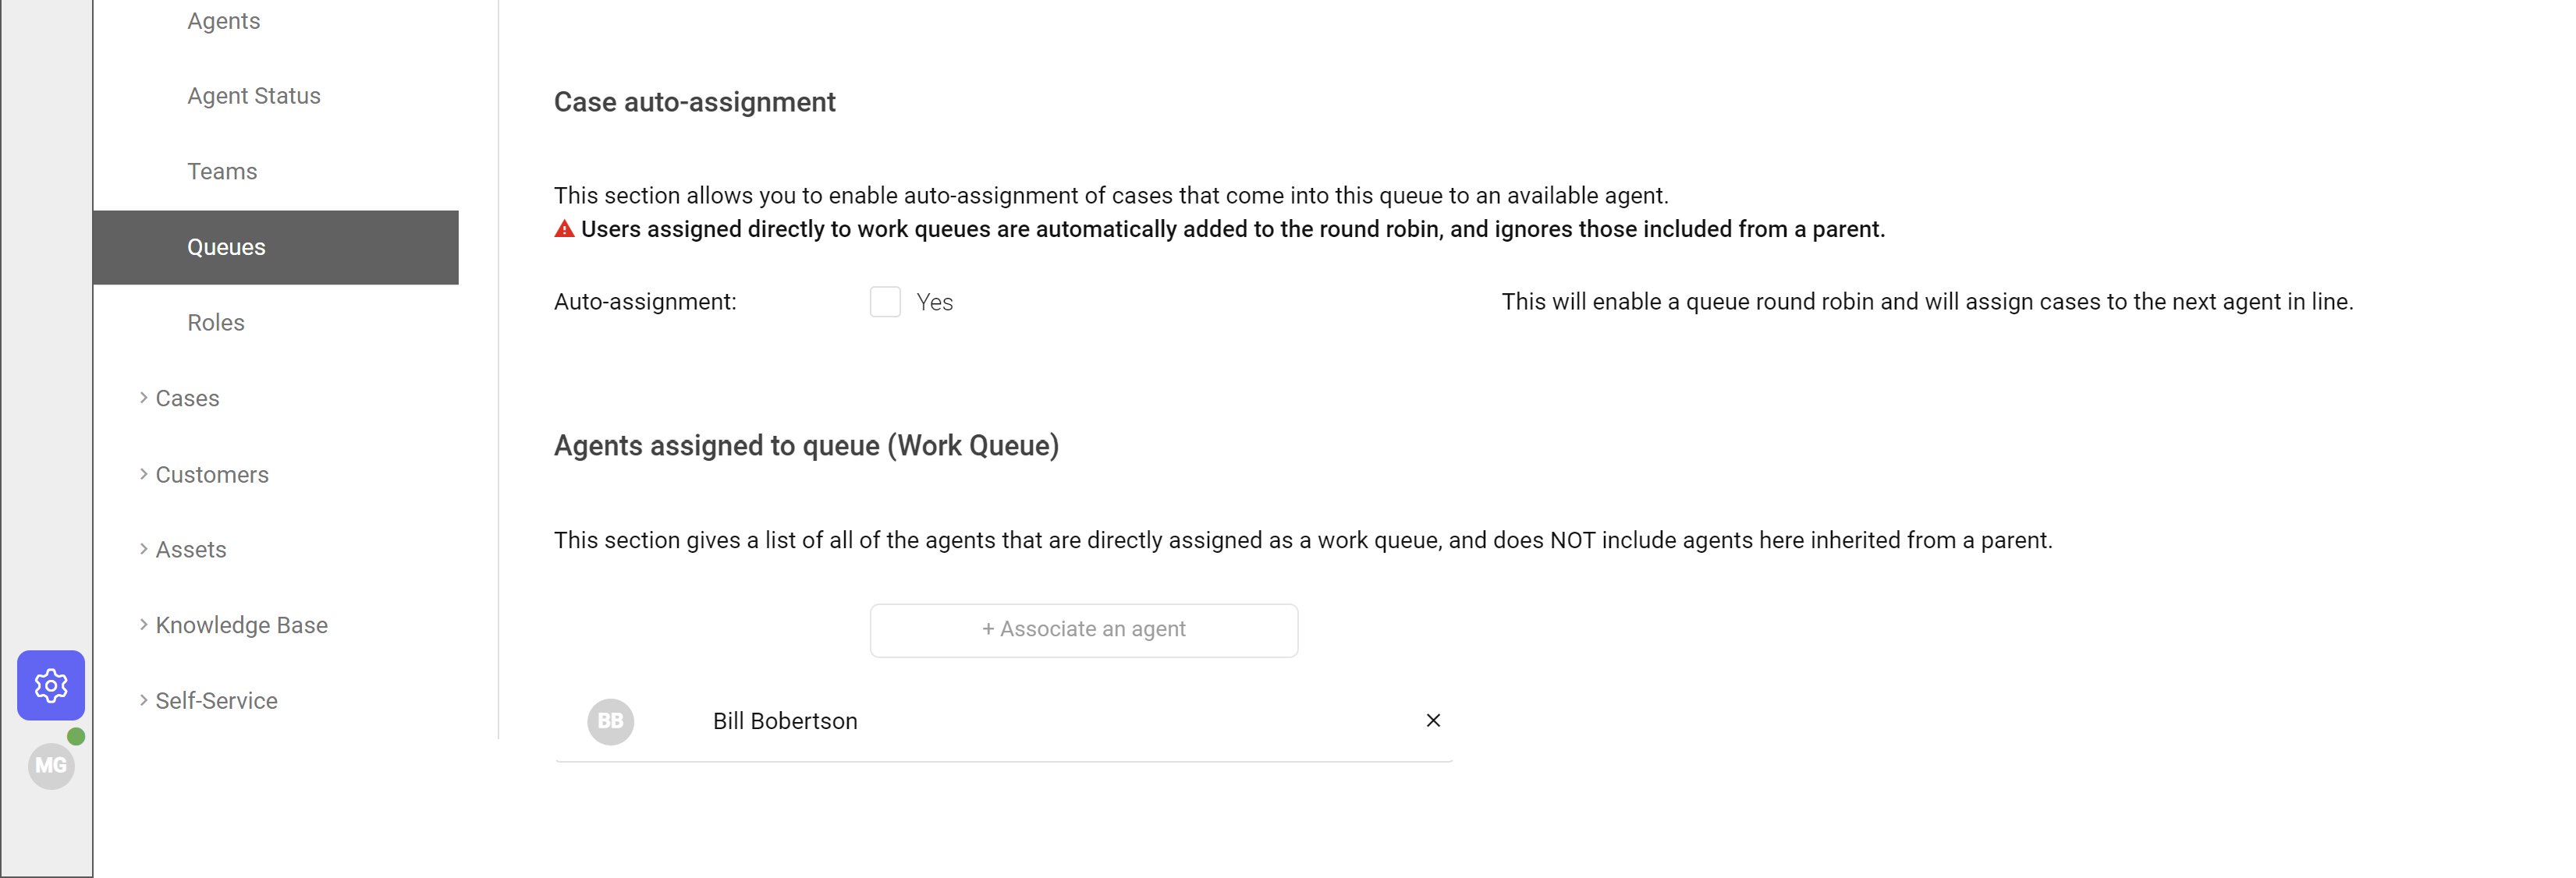
Last but not least for queues, you can decide whether or not you want the queue to auto-assign tickets to agents using round robin.
Step by step:
- Navigate to Configuration > Organization > Queues > New Queue
- Give the Queue a name, a parent queue if necessary and decide on if this is a global queue.
- Add the main/primary team that will be working out of this Queue and make sure its active.
- Set the Queue Availability (Business hours)
- Decide on if this queue is going to auto assign cases to the agents that you intend to have working in it.
- Add your agents to the queue (if you've already added agents)
Once done creating your divisions and queues, if you plan on having multiple email routes, you can navigate back to Routes under email configuration and start creating new ones. When creating the new routes, you can associate them to your queues and divisions. This will get your tickets going to where you need them to go. Note: When you add a queue to your route, all incoming emails (tickets) to that route, will be placed inside the associated queue😄!
Updated about 1 year ago