
Email Route / Address and Signature
This is an important step - setting up your routes and signatures is how you start getting tickets into your bench
To get your support emails into Supportbench, you need to set up email forwarding into your routes. You can have as many routes as you need to meet your business requirements (example: Sales and Support having different emails.)
Setting up forwarding involves configuring your email service provider to automatically forward incoming support emails to a specific email address associated with Supportbench. The exact steps to set up email forwarding depend on your email service provider. Typically, you'll need to access your email account settings and look for options related to email forwarding or email rules. Configure the forwarding settings to send support-related emails to the designated Supportbench email address.
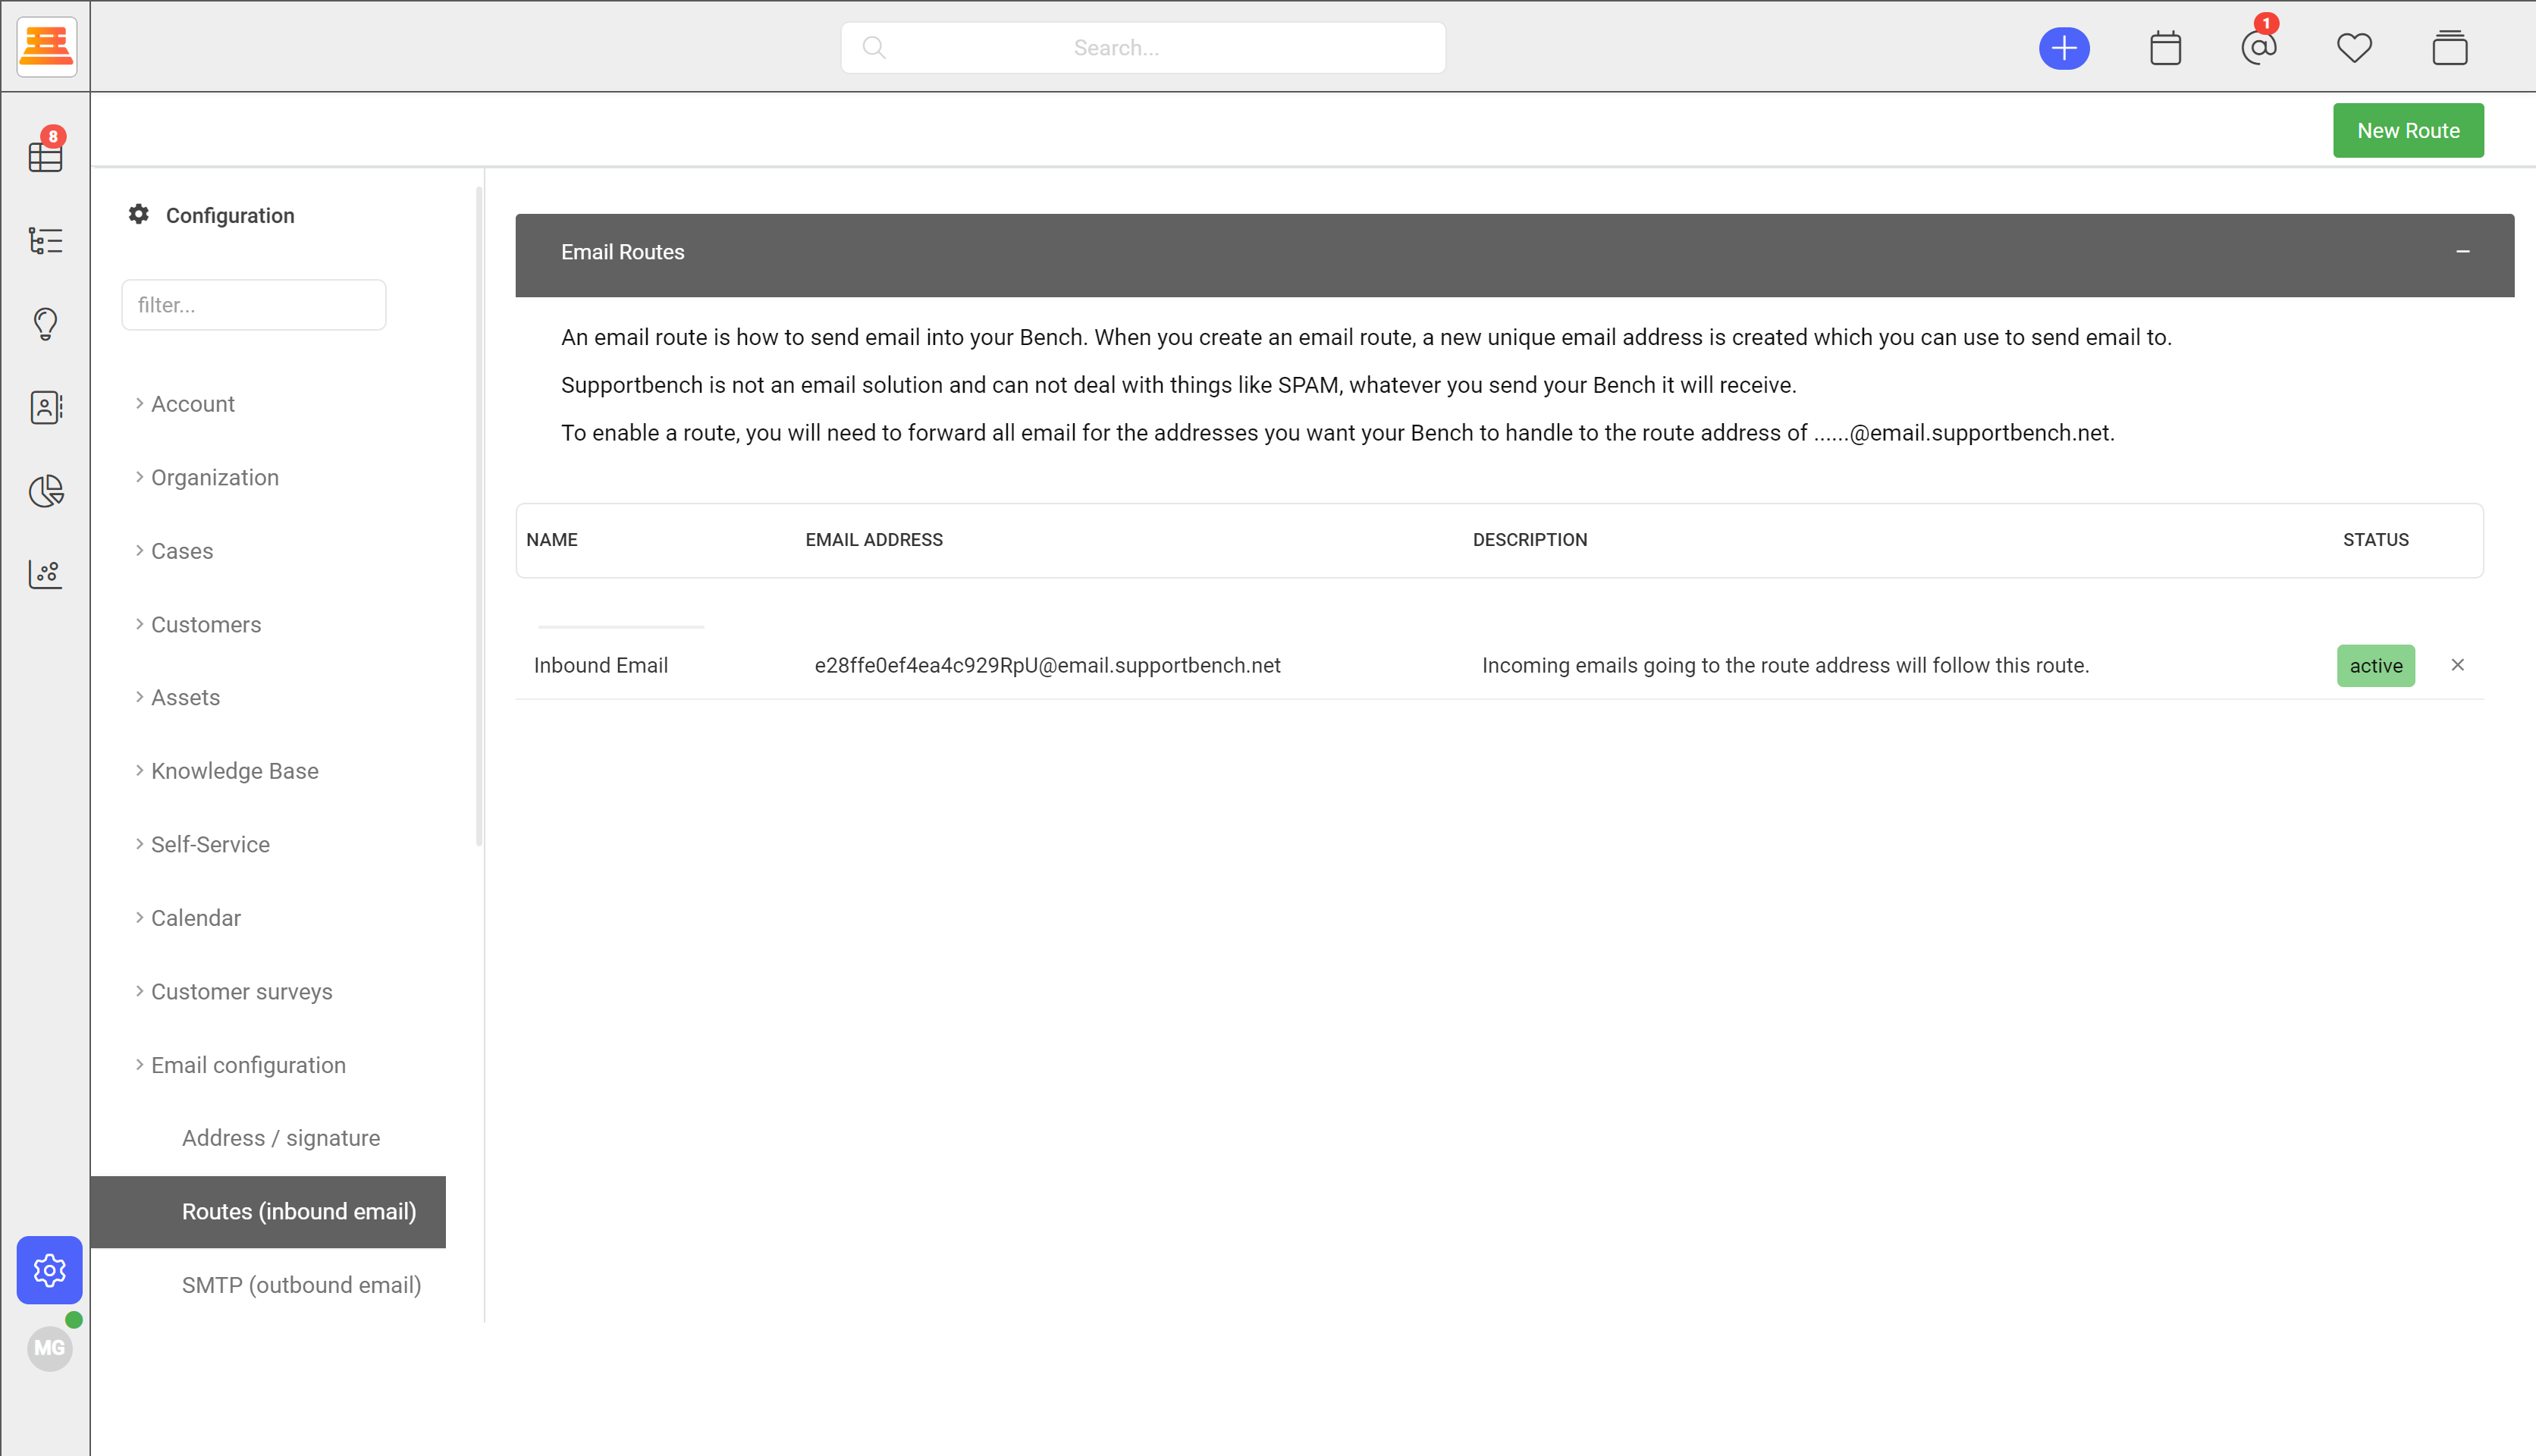
You can find this email address or create new addresses under Configuration > Email Configuration > Routes.
Please note that the step by step process may be different depending on your version of outlook, but here is a general overview of how to setup Email Forwarding within Outlook:
Step 1: Launch Outlook and log in to your email account.
Step 2: Click on the "File" tab at the top-left corner of the Outlook window.
Step 3: In the File menu, select "Options" from the left-hand sidebar.
Step 4: In the Outlook Options window, click on "Mail" in the left-hand sidebar.
Step 5: Scroll down in the Mail settings until you find the "Automatic processing" section. Click on the "Rules and Alerts" button.
Step 6: In the Rules and Alerts window, click on the "New Rule" button.
Step 7: In the Rules Wizard, select "Apply rule on messages I receive" and click "Next".
Step 8: In the next window, leave all checkboxes empty and click "Next".
Step 9: You'll see a prompt asking if you want this rule to apply to all messages. Select "Yes" to apply the rule to all incoming messages.
Step 10: In the next window, check the box next to "Forward it to people or public group".
Step 11: Click on the "people or public group" link in the bottom pane.
Step 12: In the Rule Address window, select the contact or enter the email address where you want to forward your emails. Click "OK".
Step 13: Back in the Rules Wizard, click "Next".
Step 14: You can add any exceptions or additional conditions if needed. Otherwise, click "Next".
Step 15: Provide a name for the rule (e.g., "Email Forwarding") and choose whether to enable the rule immediately. Click "Finish" to complete the setup.
Next, lets set our Default system address and Signatures

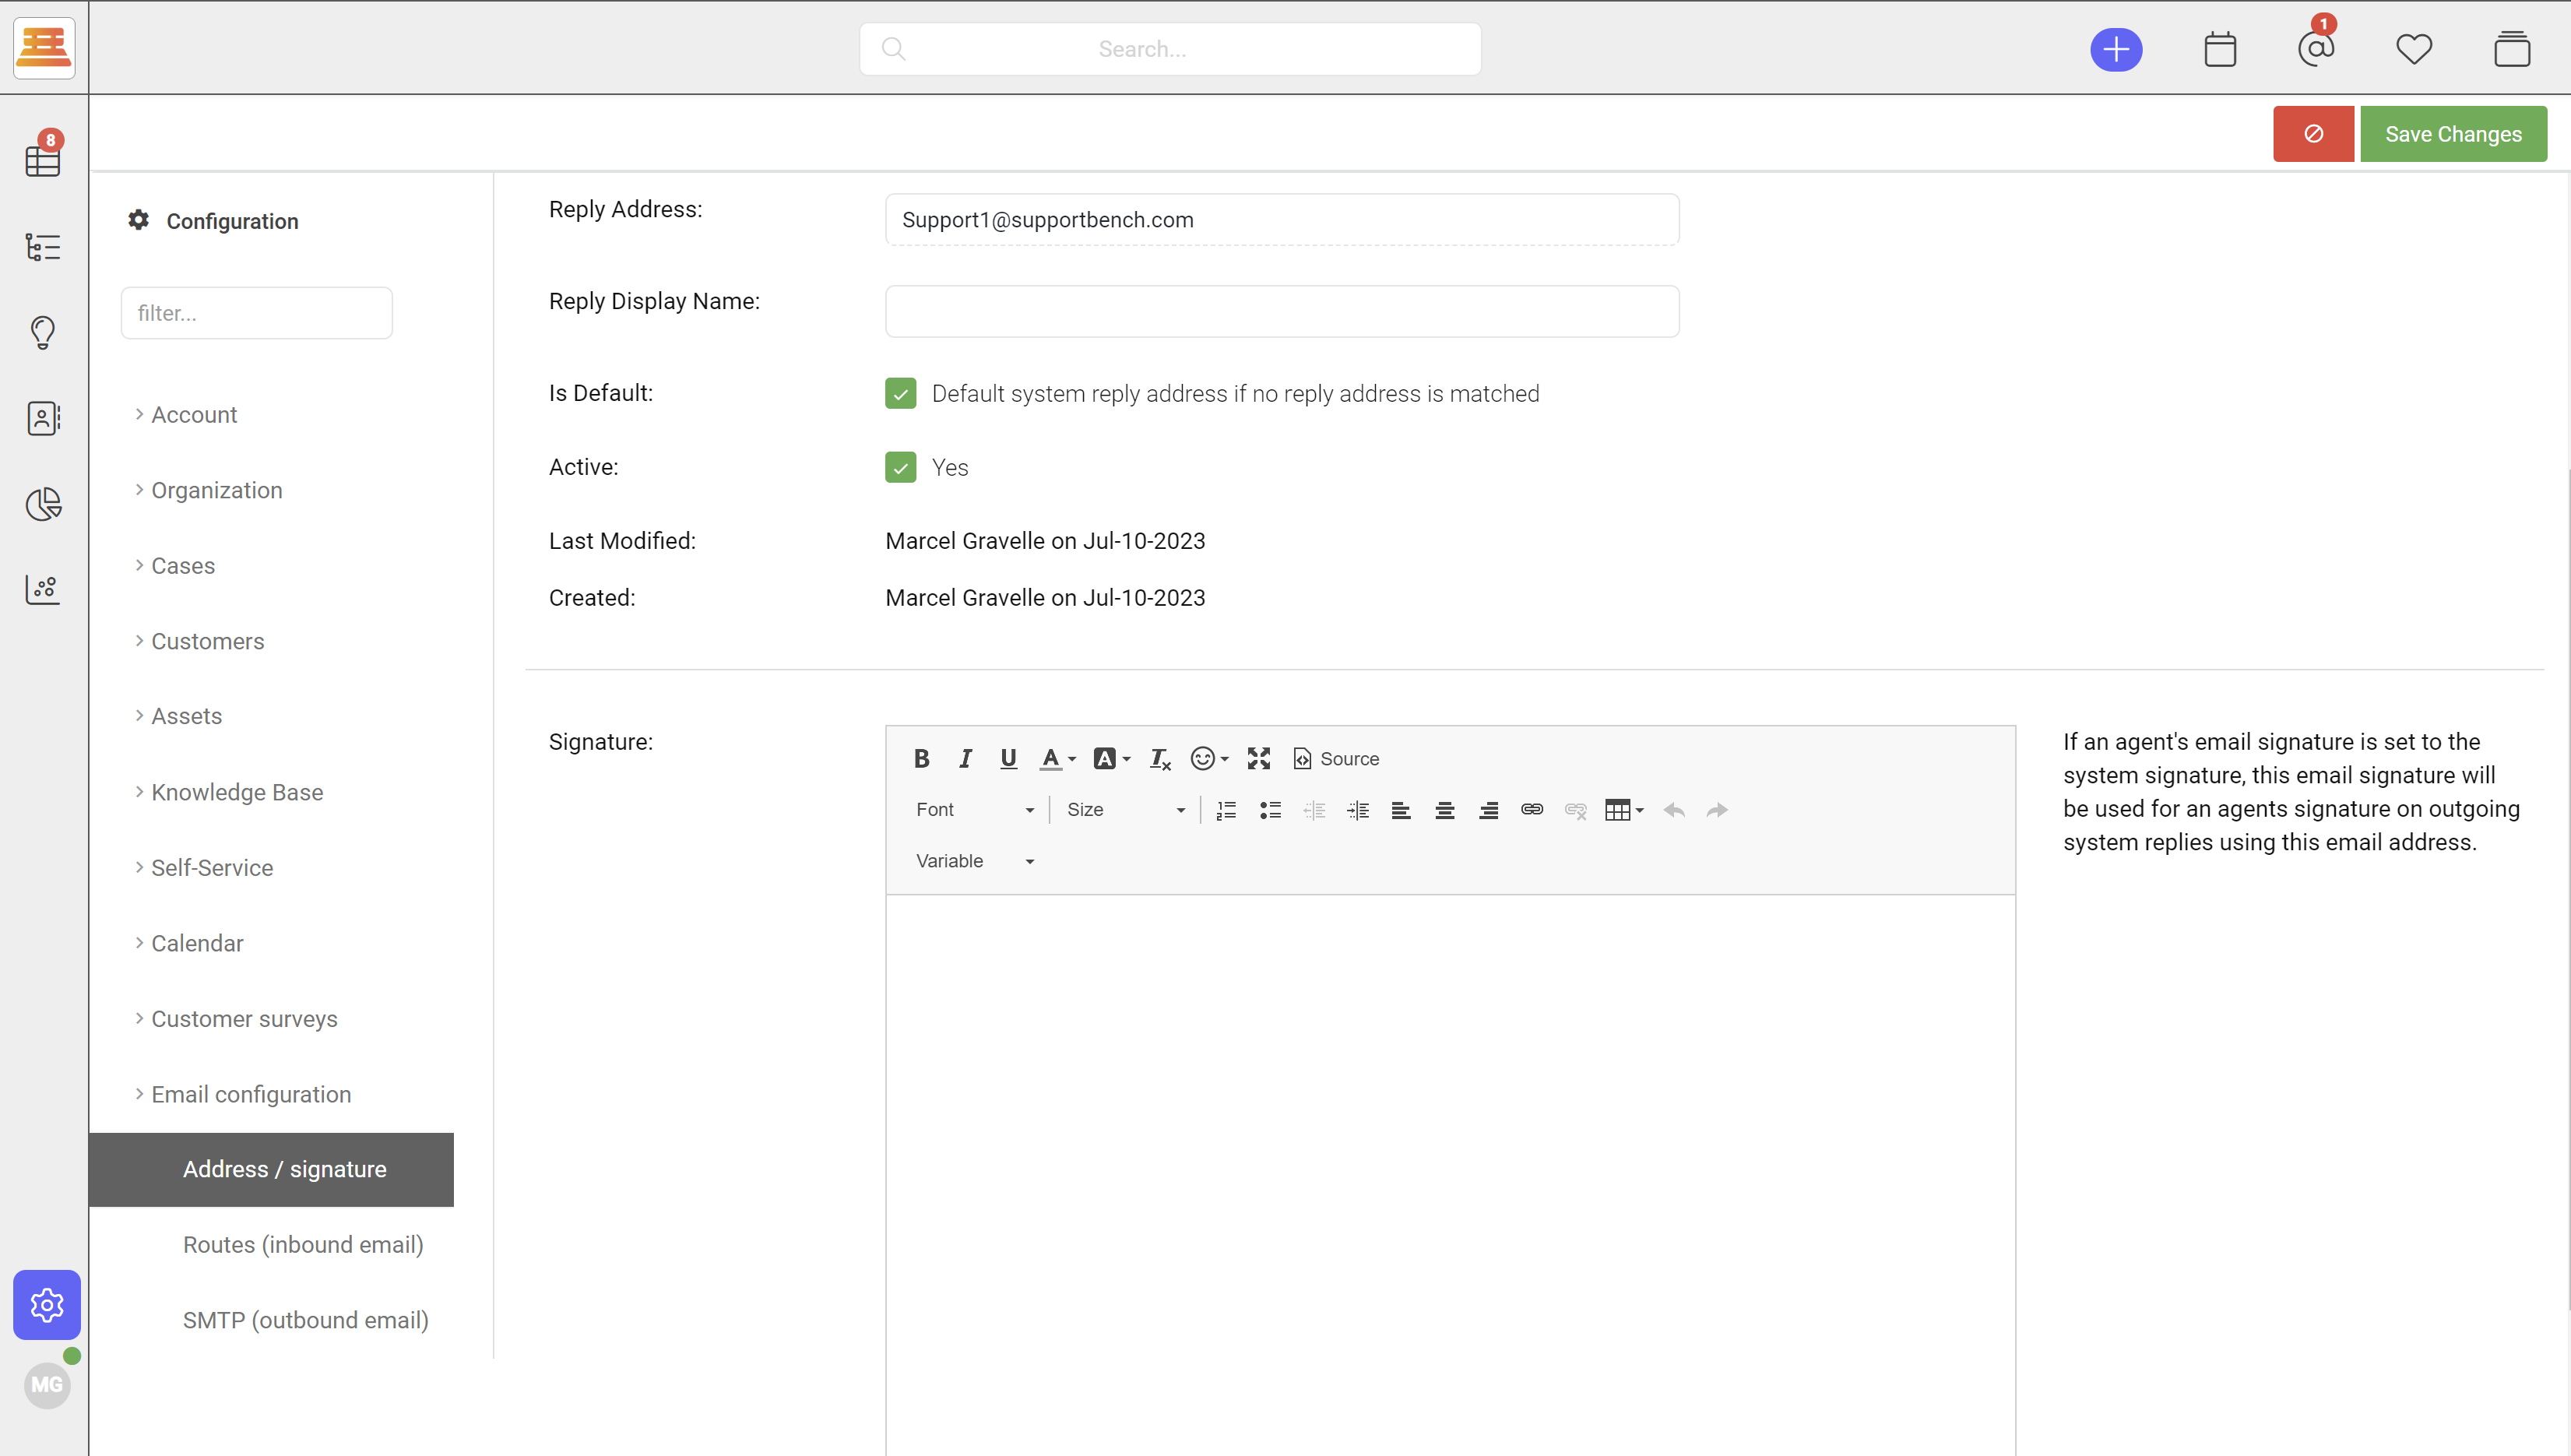
This is going to be the address that you want your clients to see and reply to (the address that you've set forwarding up with.) Once you click "New Address" you'll be given the opportunity to add the name, the reply address itself, and to make it the default system address. If you choose to make it the default system address, this is what your clients will see whenever your agents reply to a ticket.
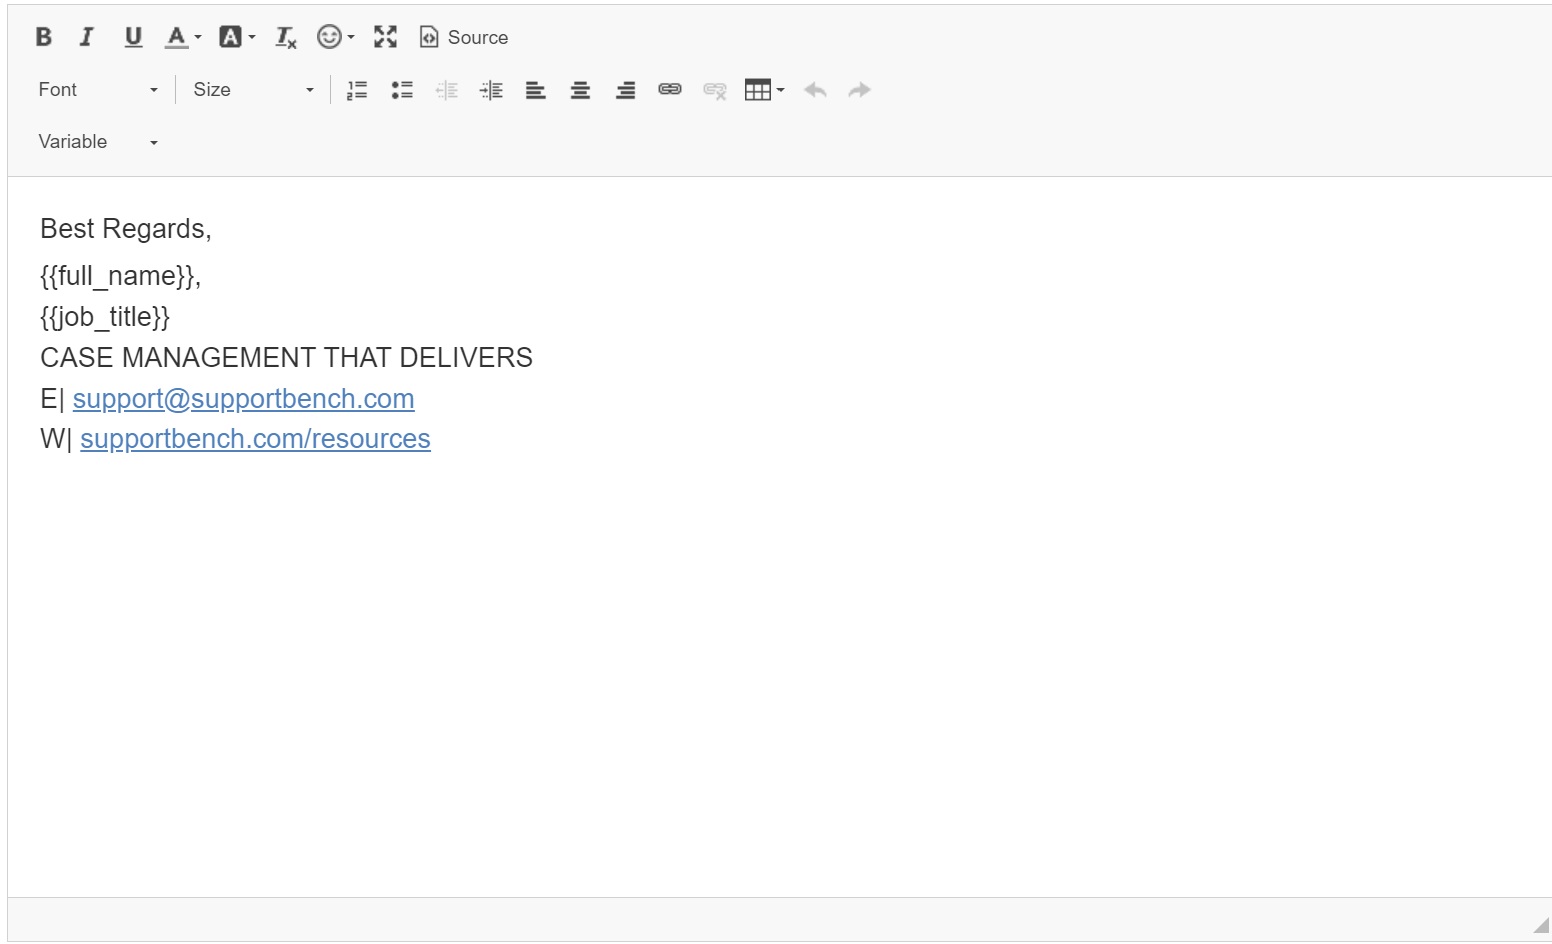
Next, go ahead and add your signature! We use variables to fill in agent names, job titles and numbers.
Here is an example of how to use them:
step by step:
- Navigate to Email Configuration > Address/Signature > Address
- Fill in your Reply Address (make sure this is a real address, one you've set forwarding up with) and reply display name
- Decide if this will be your default system reply address and make sure its active
- Add your signature
- Save Changes.
Updated about 1 year ago