
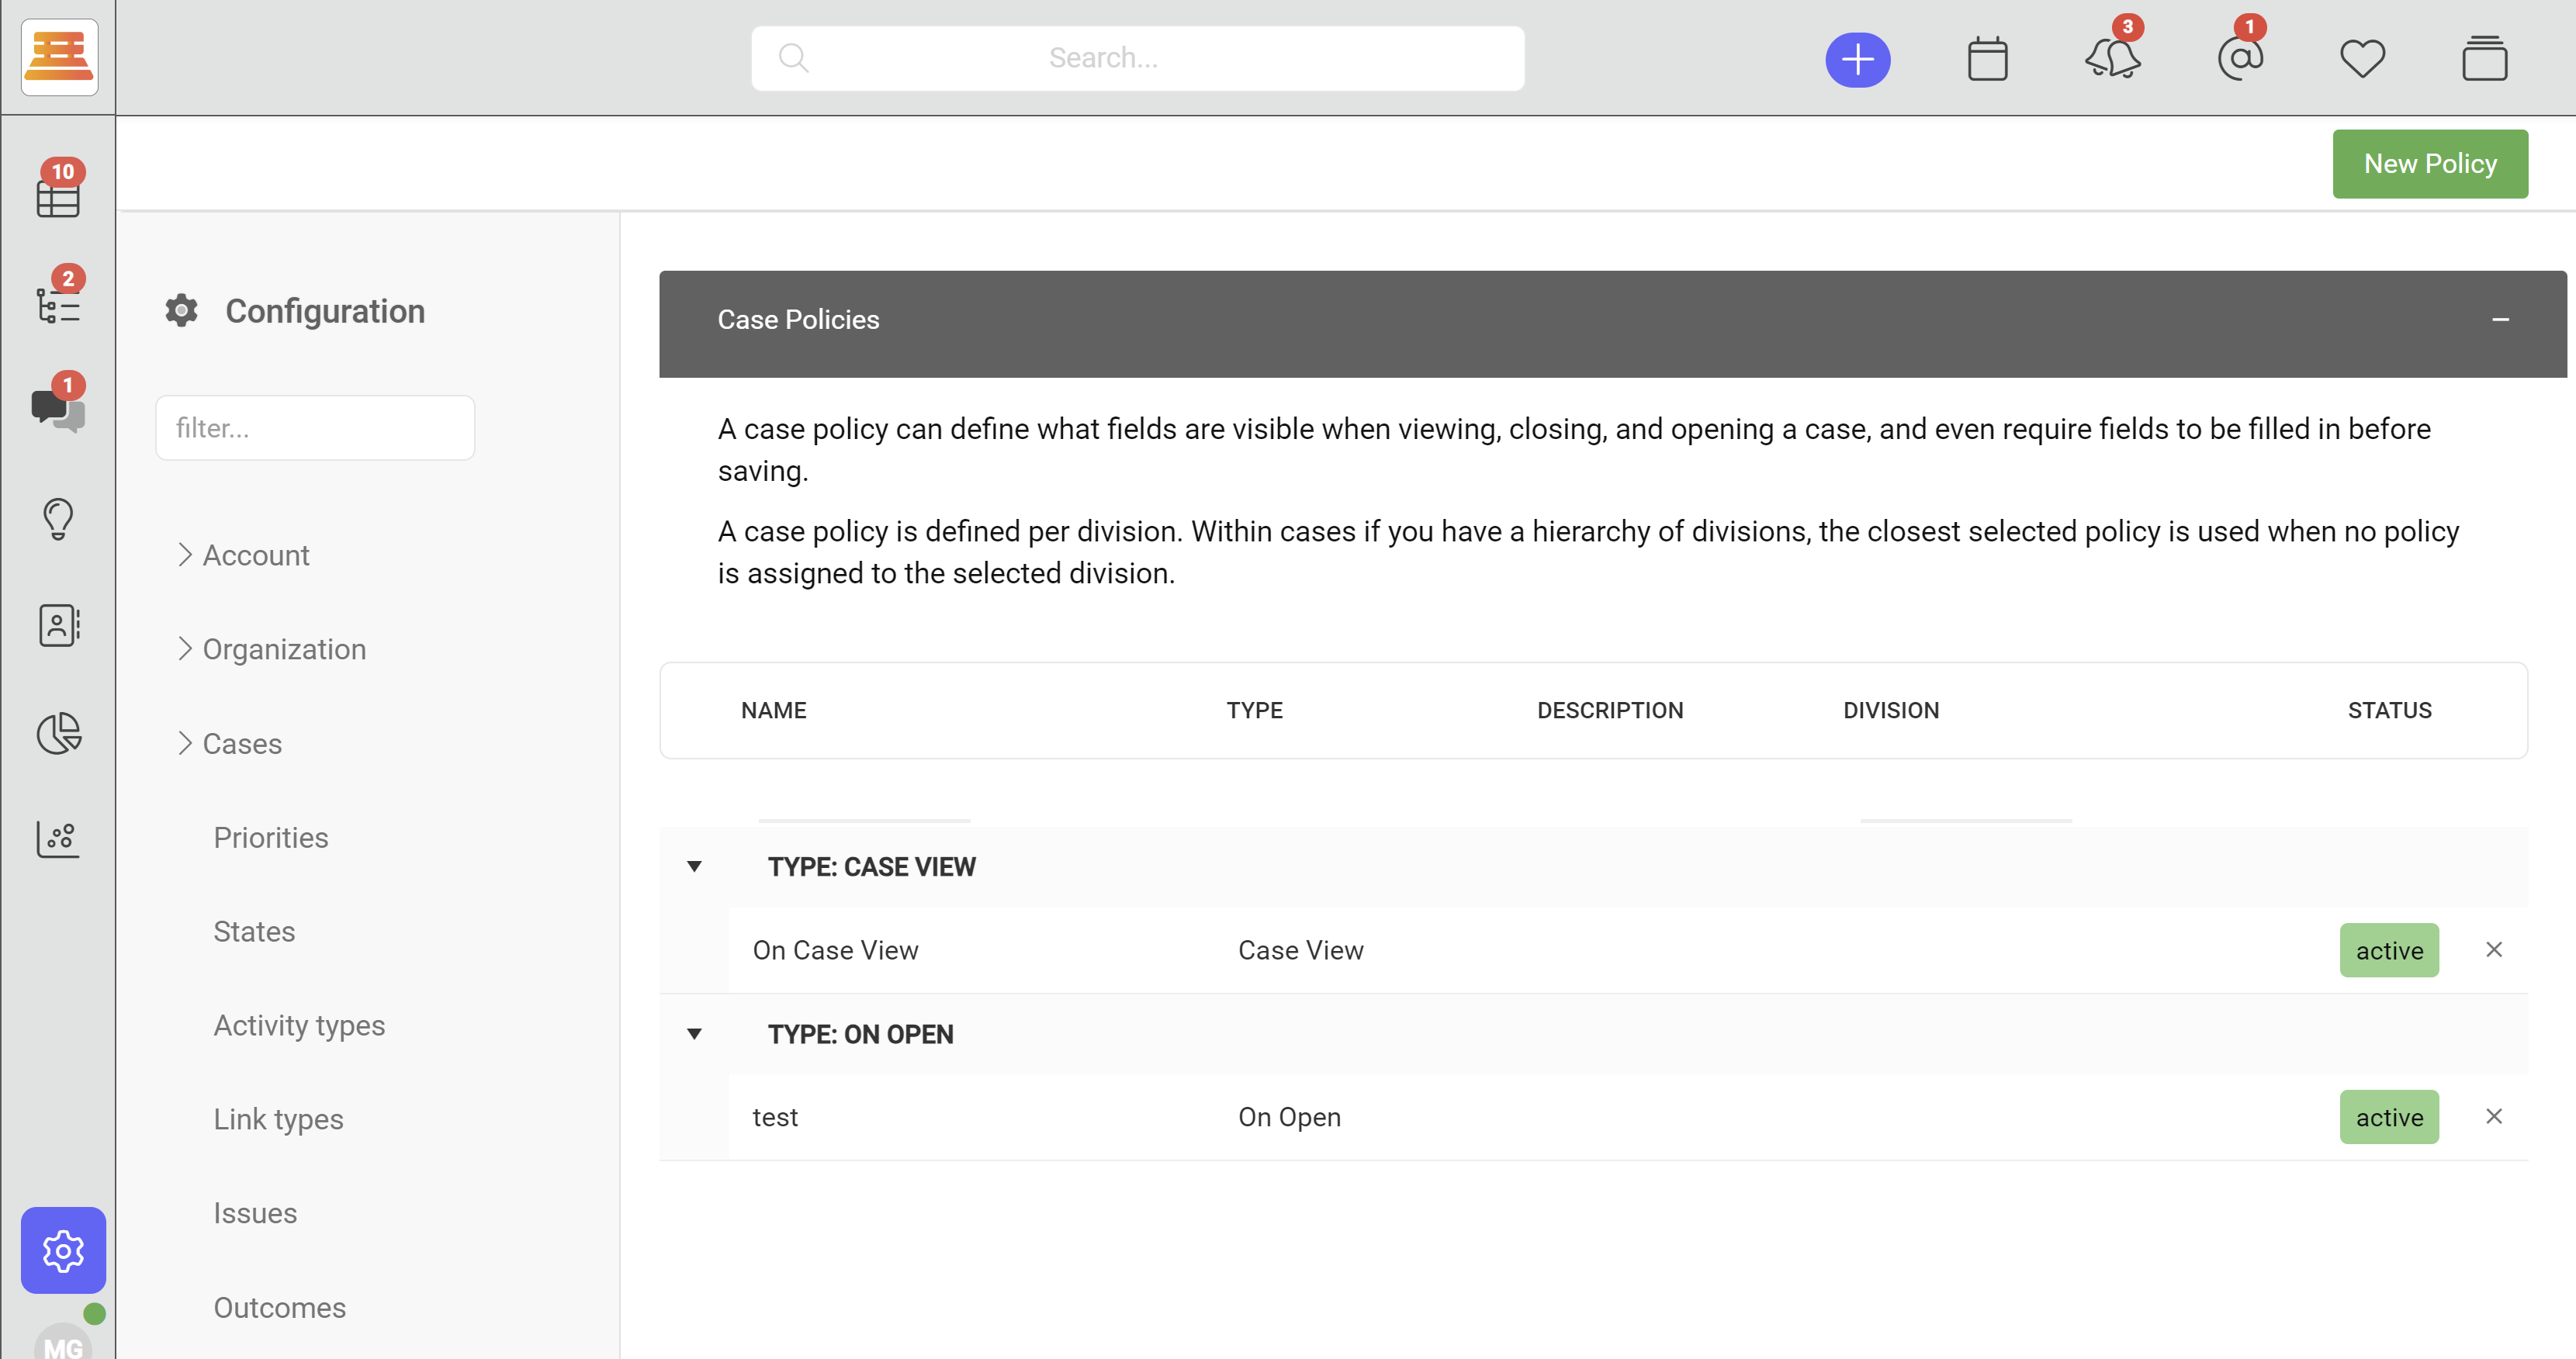
Case Policies
A case policy is used to define what particular data is tracked within your cases. You can assign the desired data that you want to track to certain cases, allowing you to not only simplify your workflows but also give you and your agents a opportunity to review the case data that’s important to you at a quick glance.
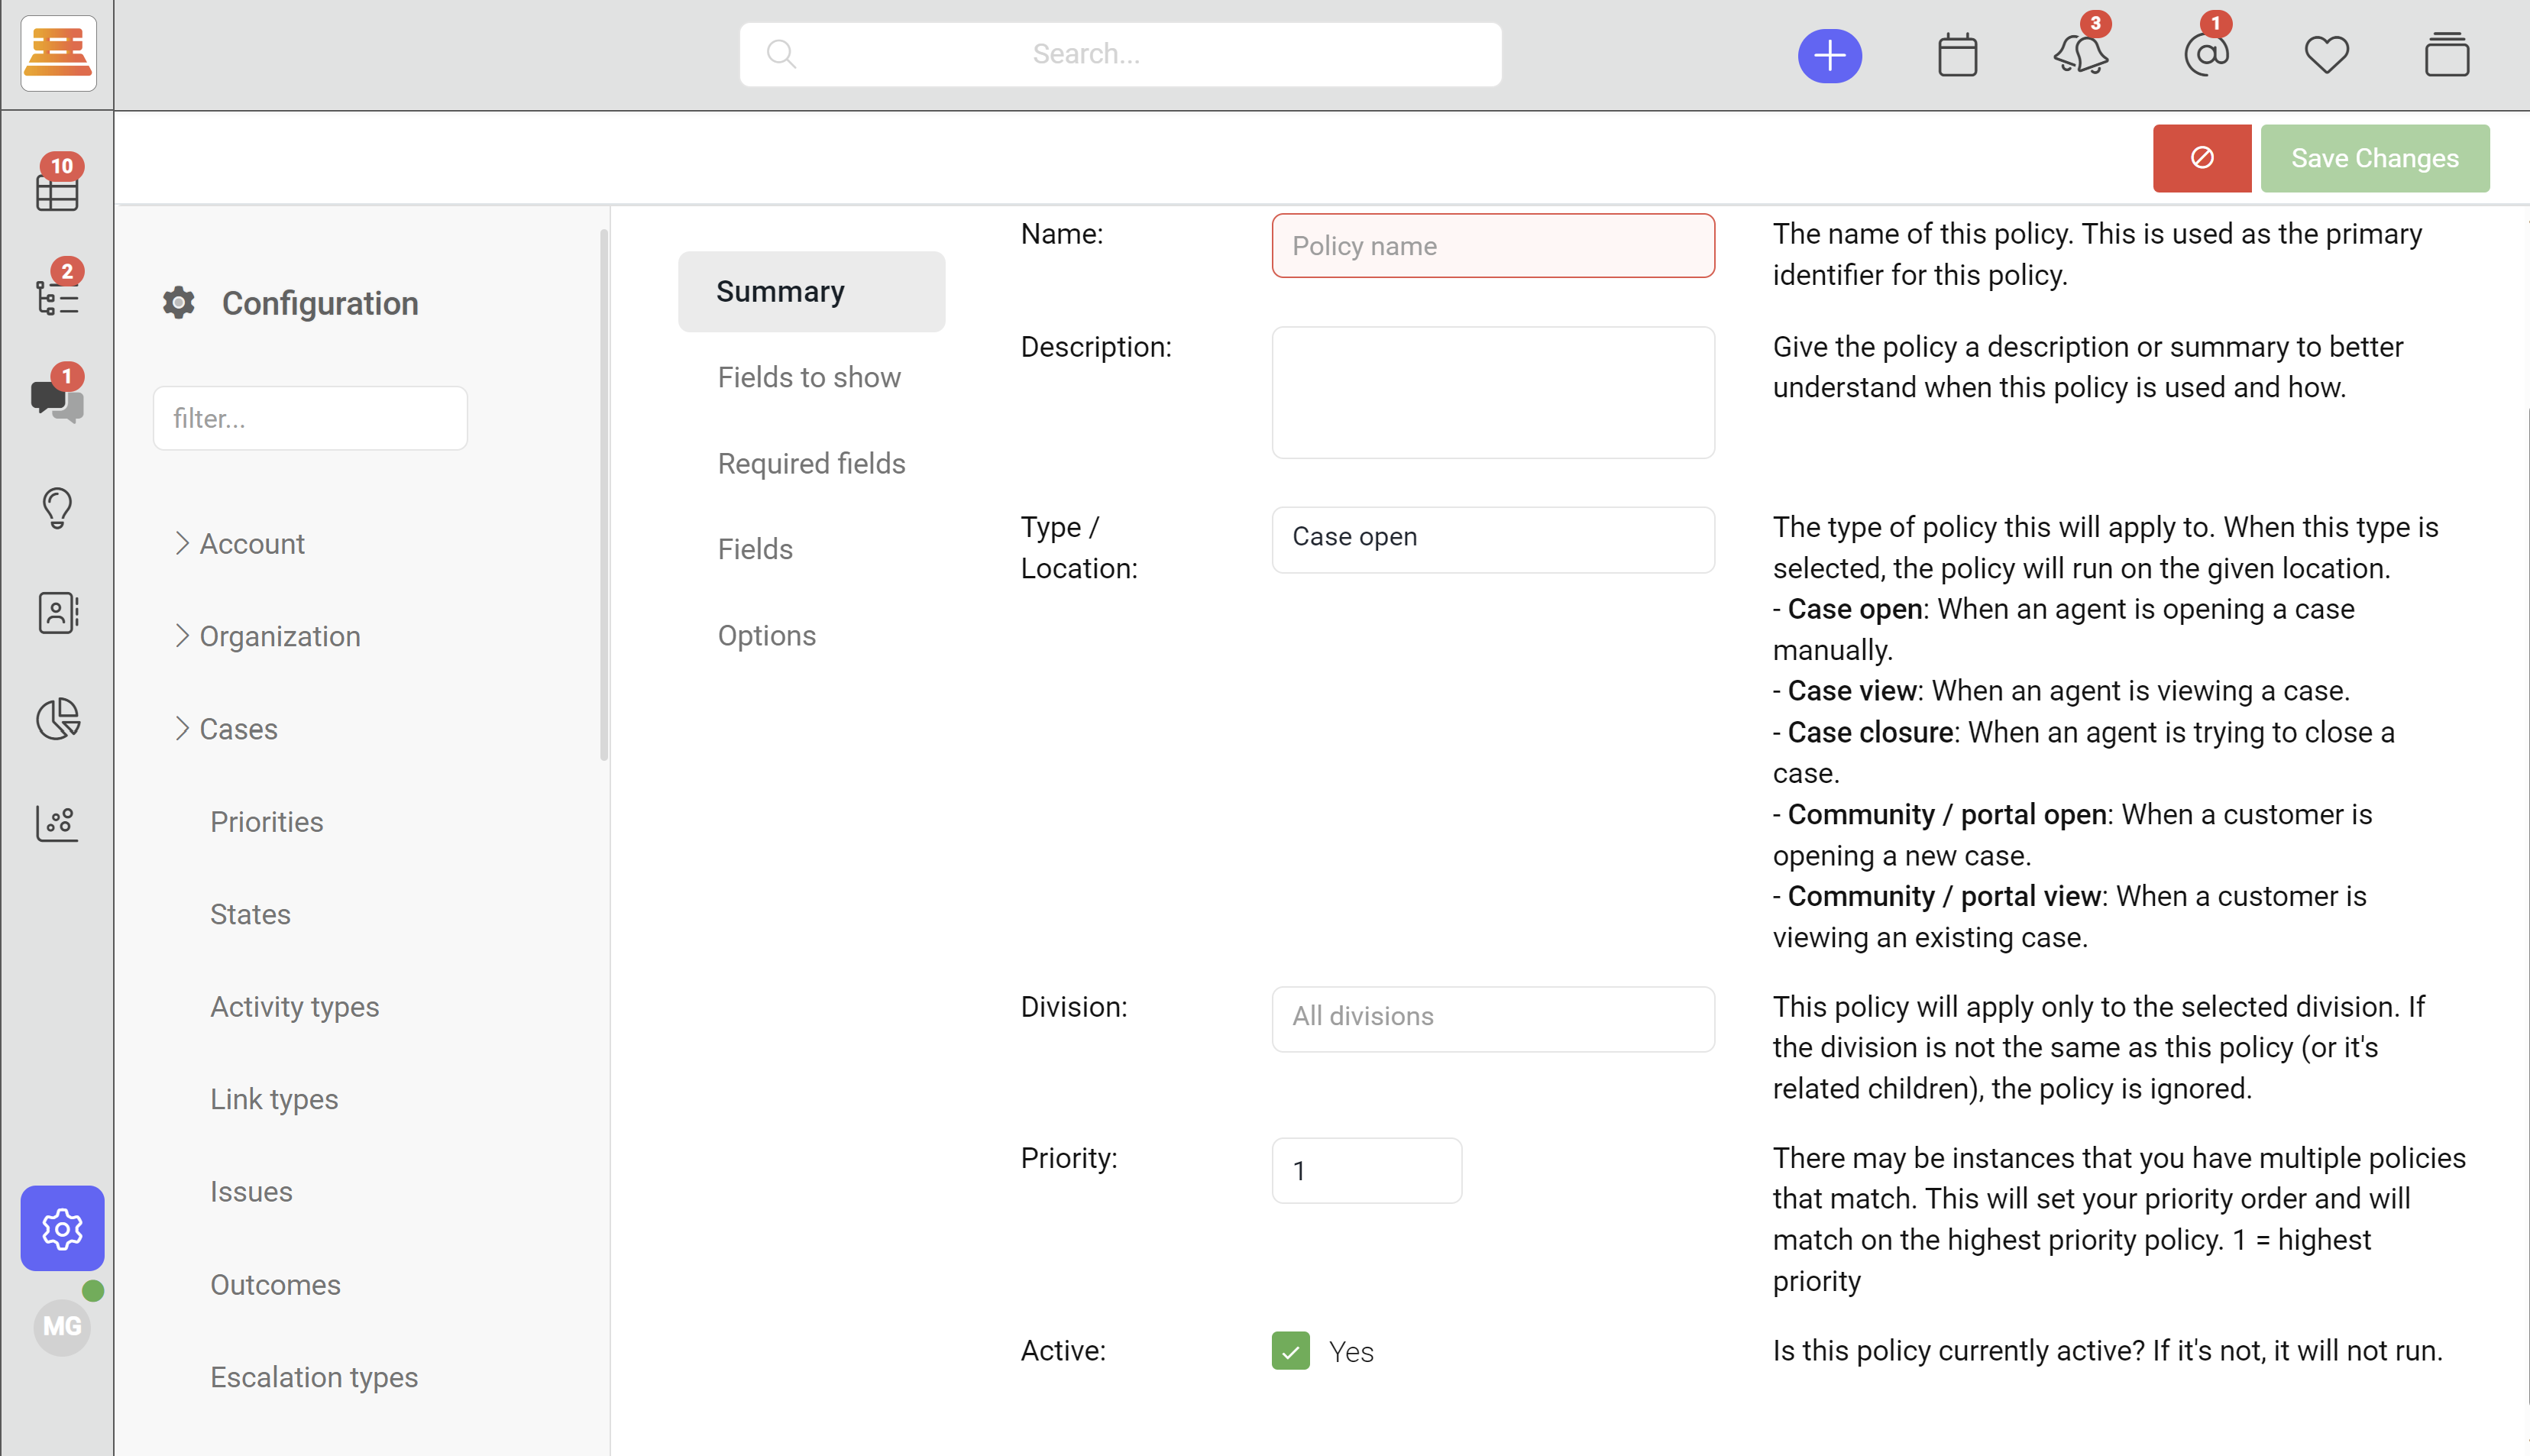
Within supportbench, we have four different configurable and emendable policy types:
Case open: When an agent is opening a case manually.
Case view: When an agent is viewing a case.
Case closure: When an agent is trying to close a case.
Community / portal open: When a customer is opening a new case.
Community / portal view: When a customer is viewing a case.
We can configure each one to meet our business requirements! The first we're going to make is going to be a Case View policy. First, navigate to Configuration > Cases > Policy and click new policy!
After you've entered into your new Policy, give it a name, description, chose "Case View" for Type / Location and assign any Division that you want this policy to be locked down to.
Next, navigate to "Fields to show" and chose what fields are going to be seen within this case view. This is where we can add those custom fields we previously made!
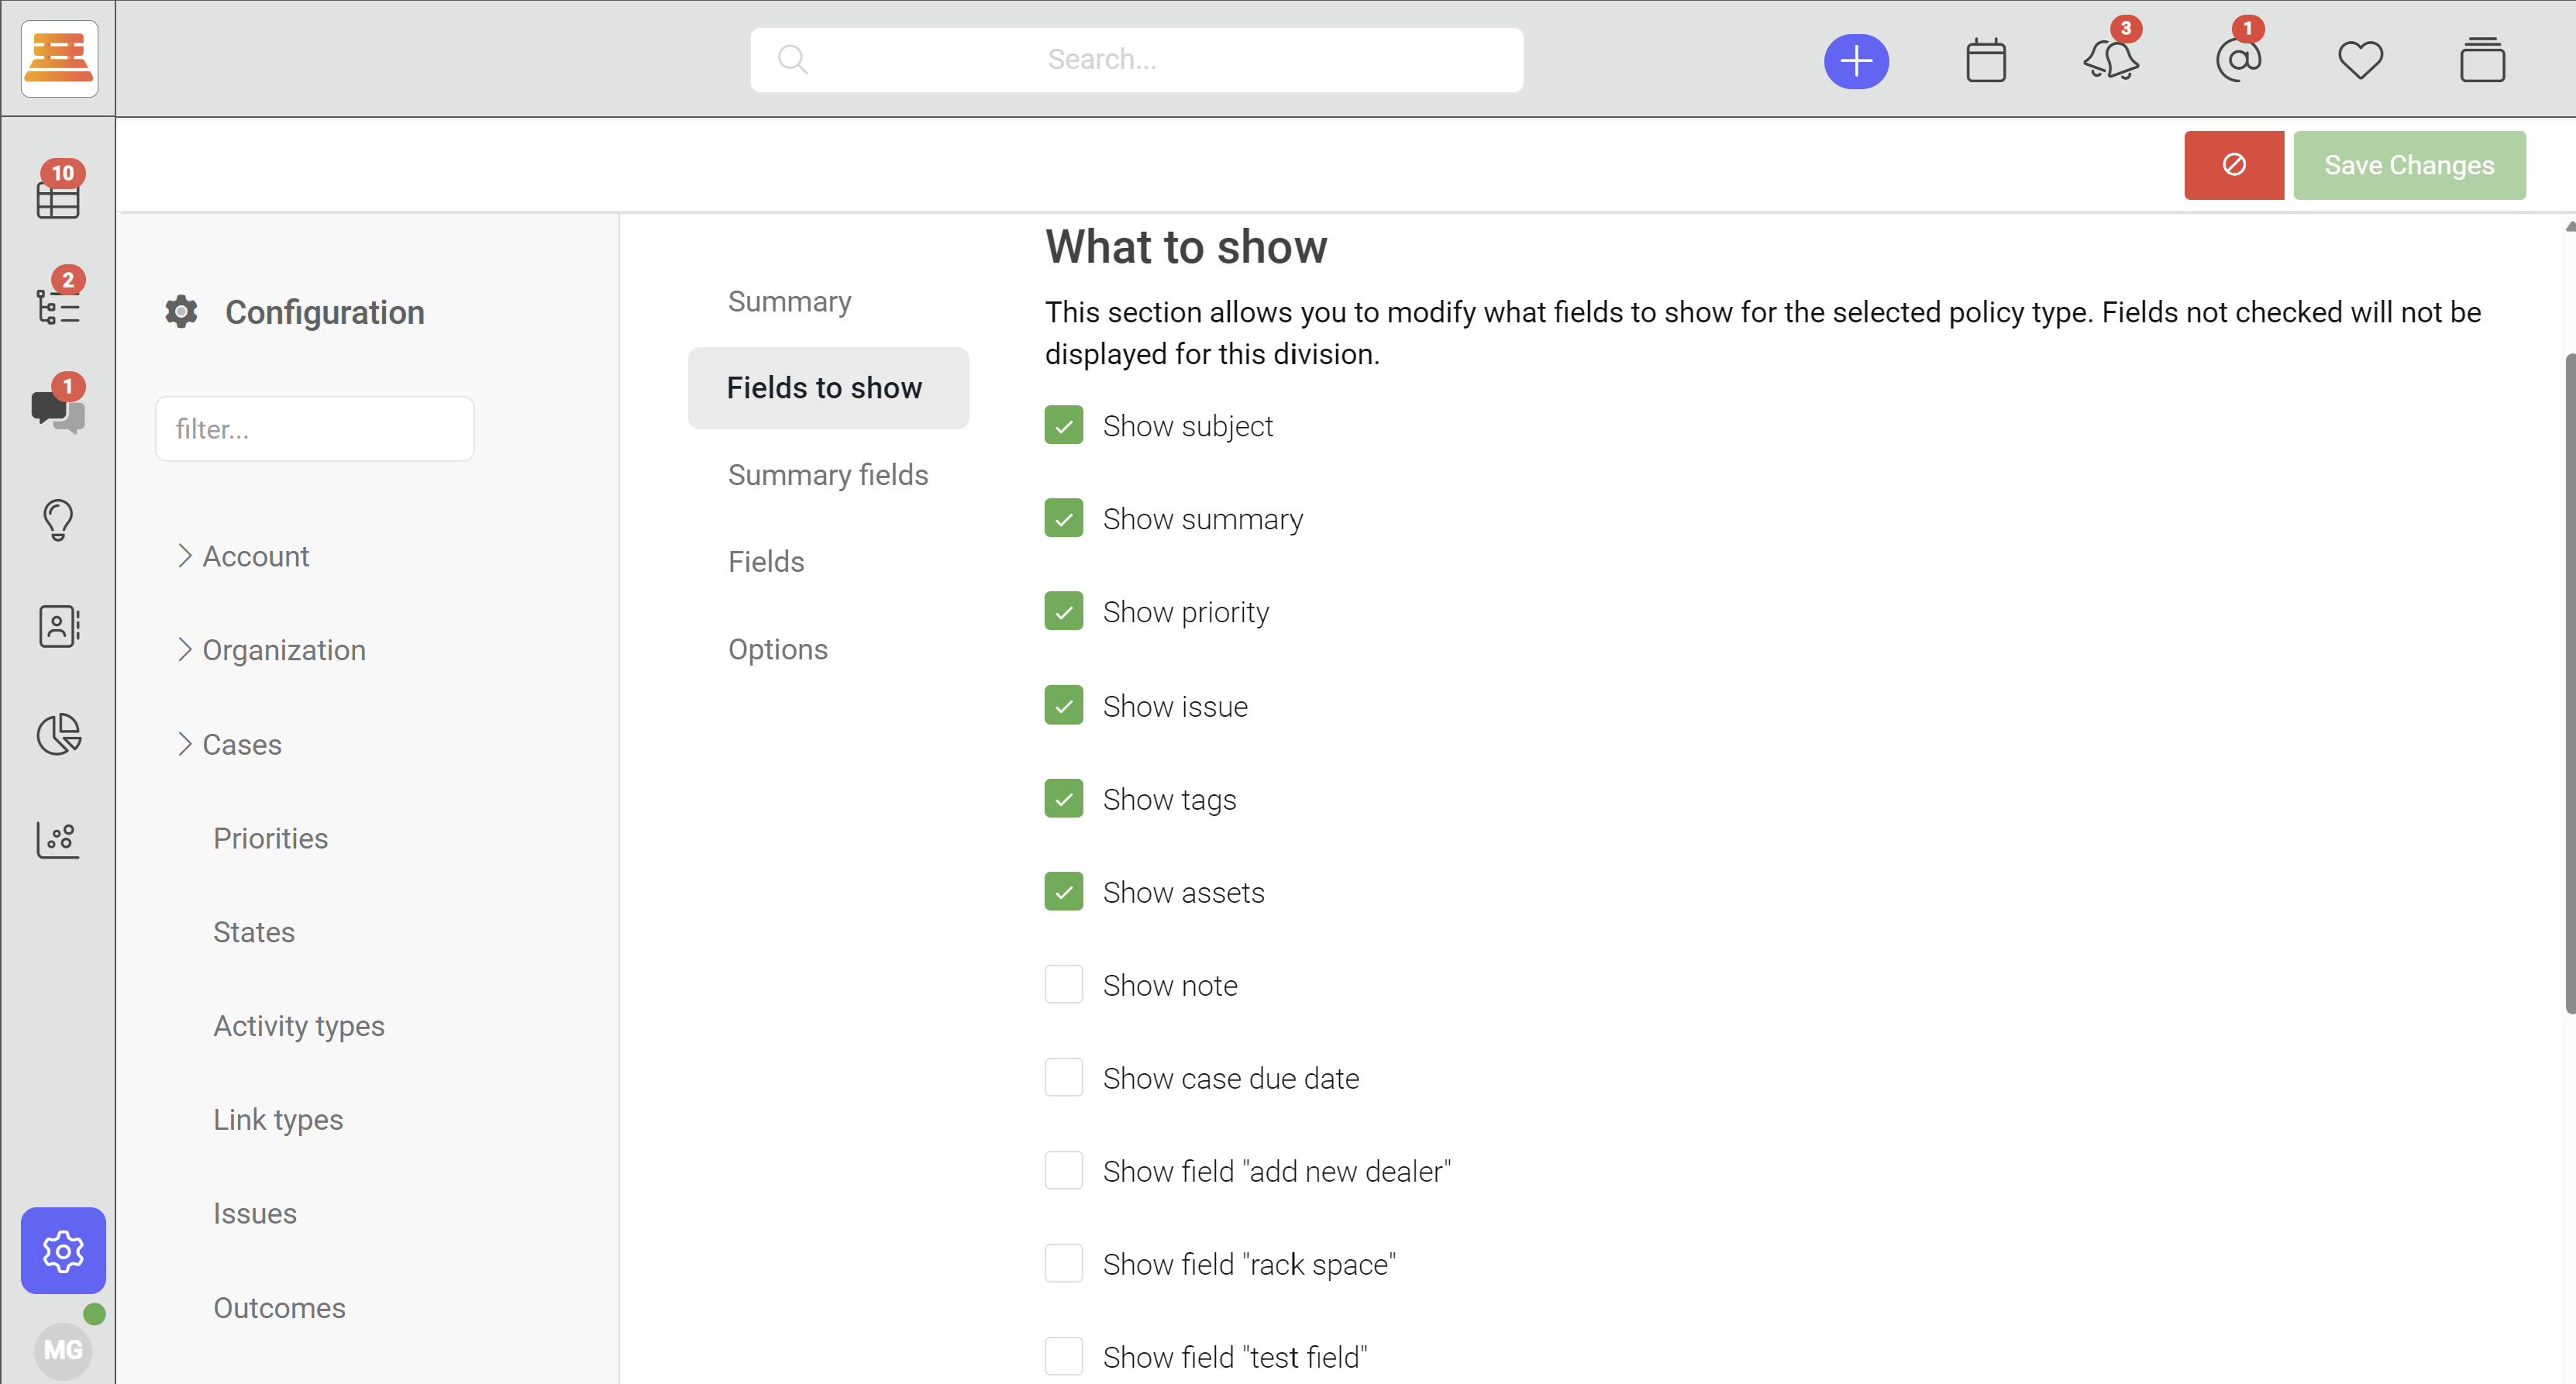
Note These are fields/data that will be tracked and seen within your cases, so you can get all the information you need on a case in a quick glance:
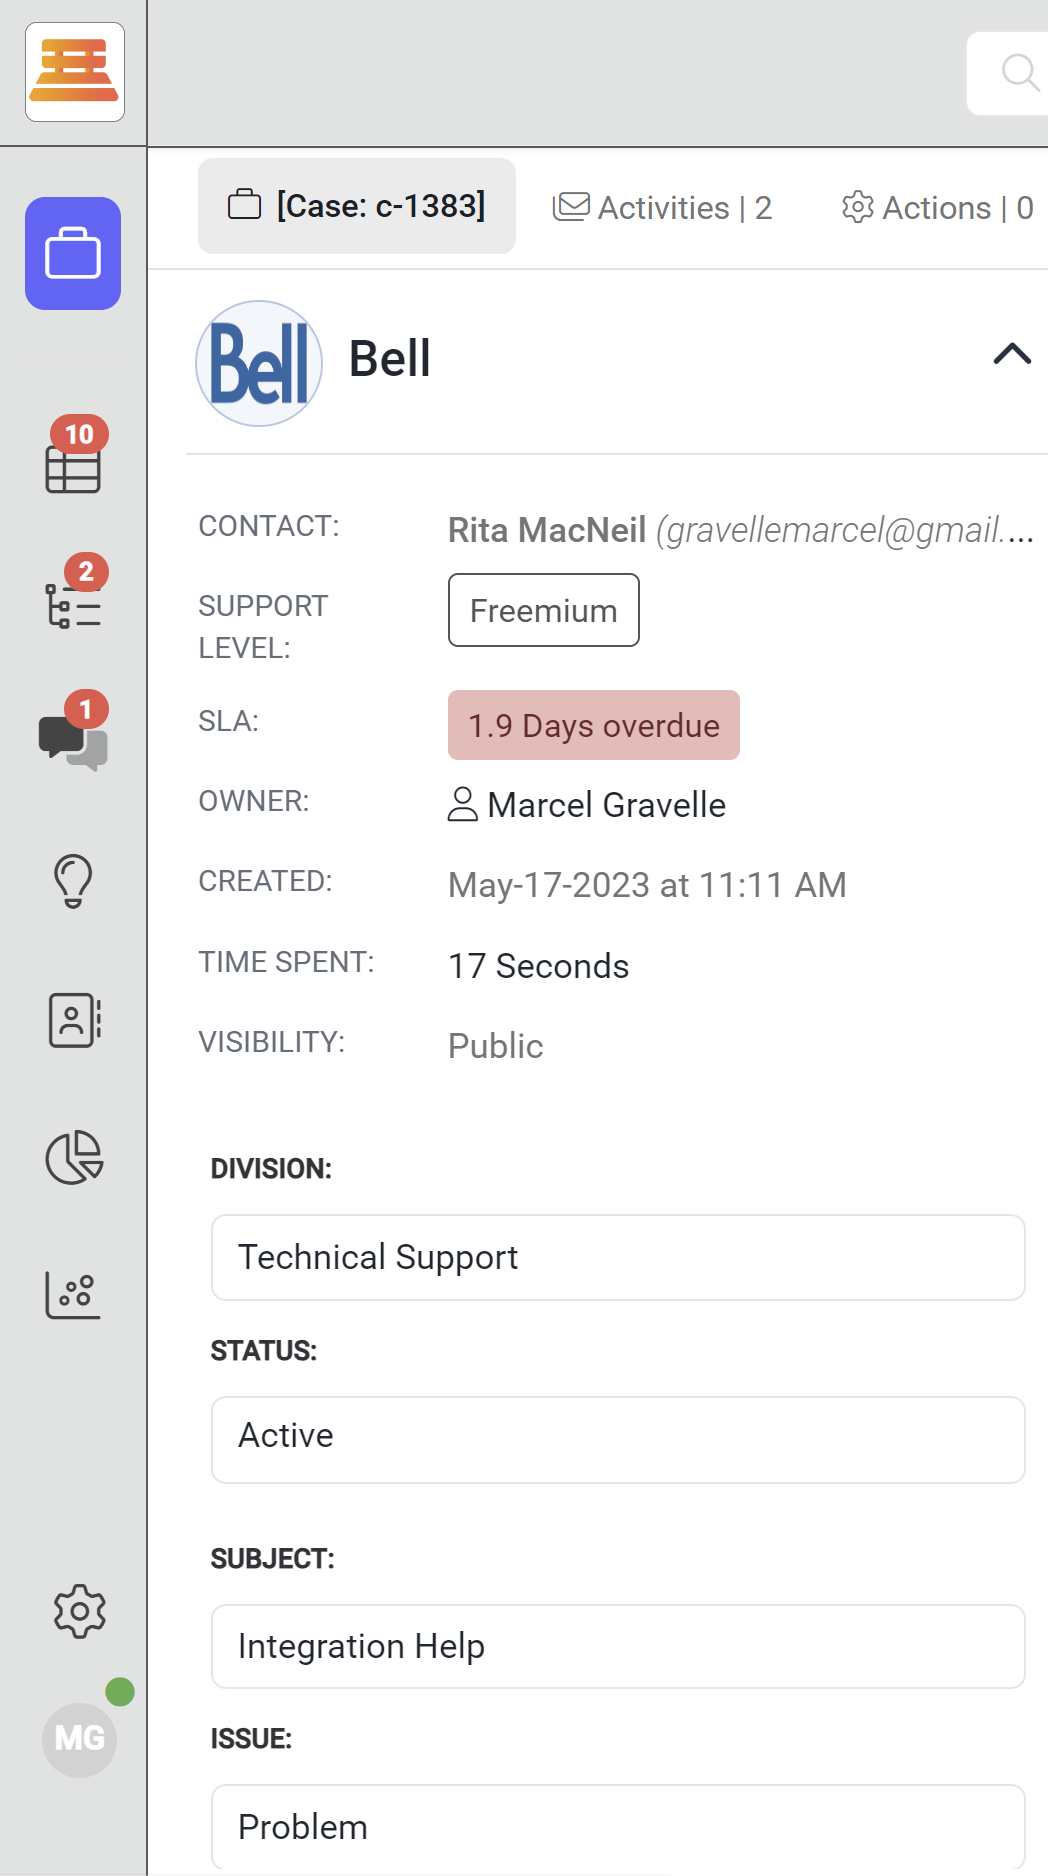
Now, we'll navigate to Summary fields. These are the fields that are seen at the top of your case (in the picture above, these are the CONTACT, SUPPORT LEVEL, SLA, OWNER, CREATED, TIME SPENT and VISIBILITY fields.

After we've decided on the summary section, navigate to "Fields." This is where you chose the order in which you view the fields you've selected in the "Fields to show" tab.
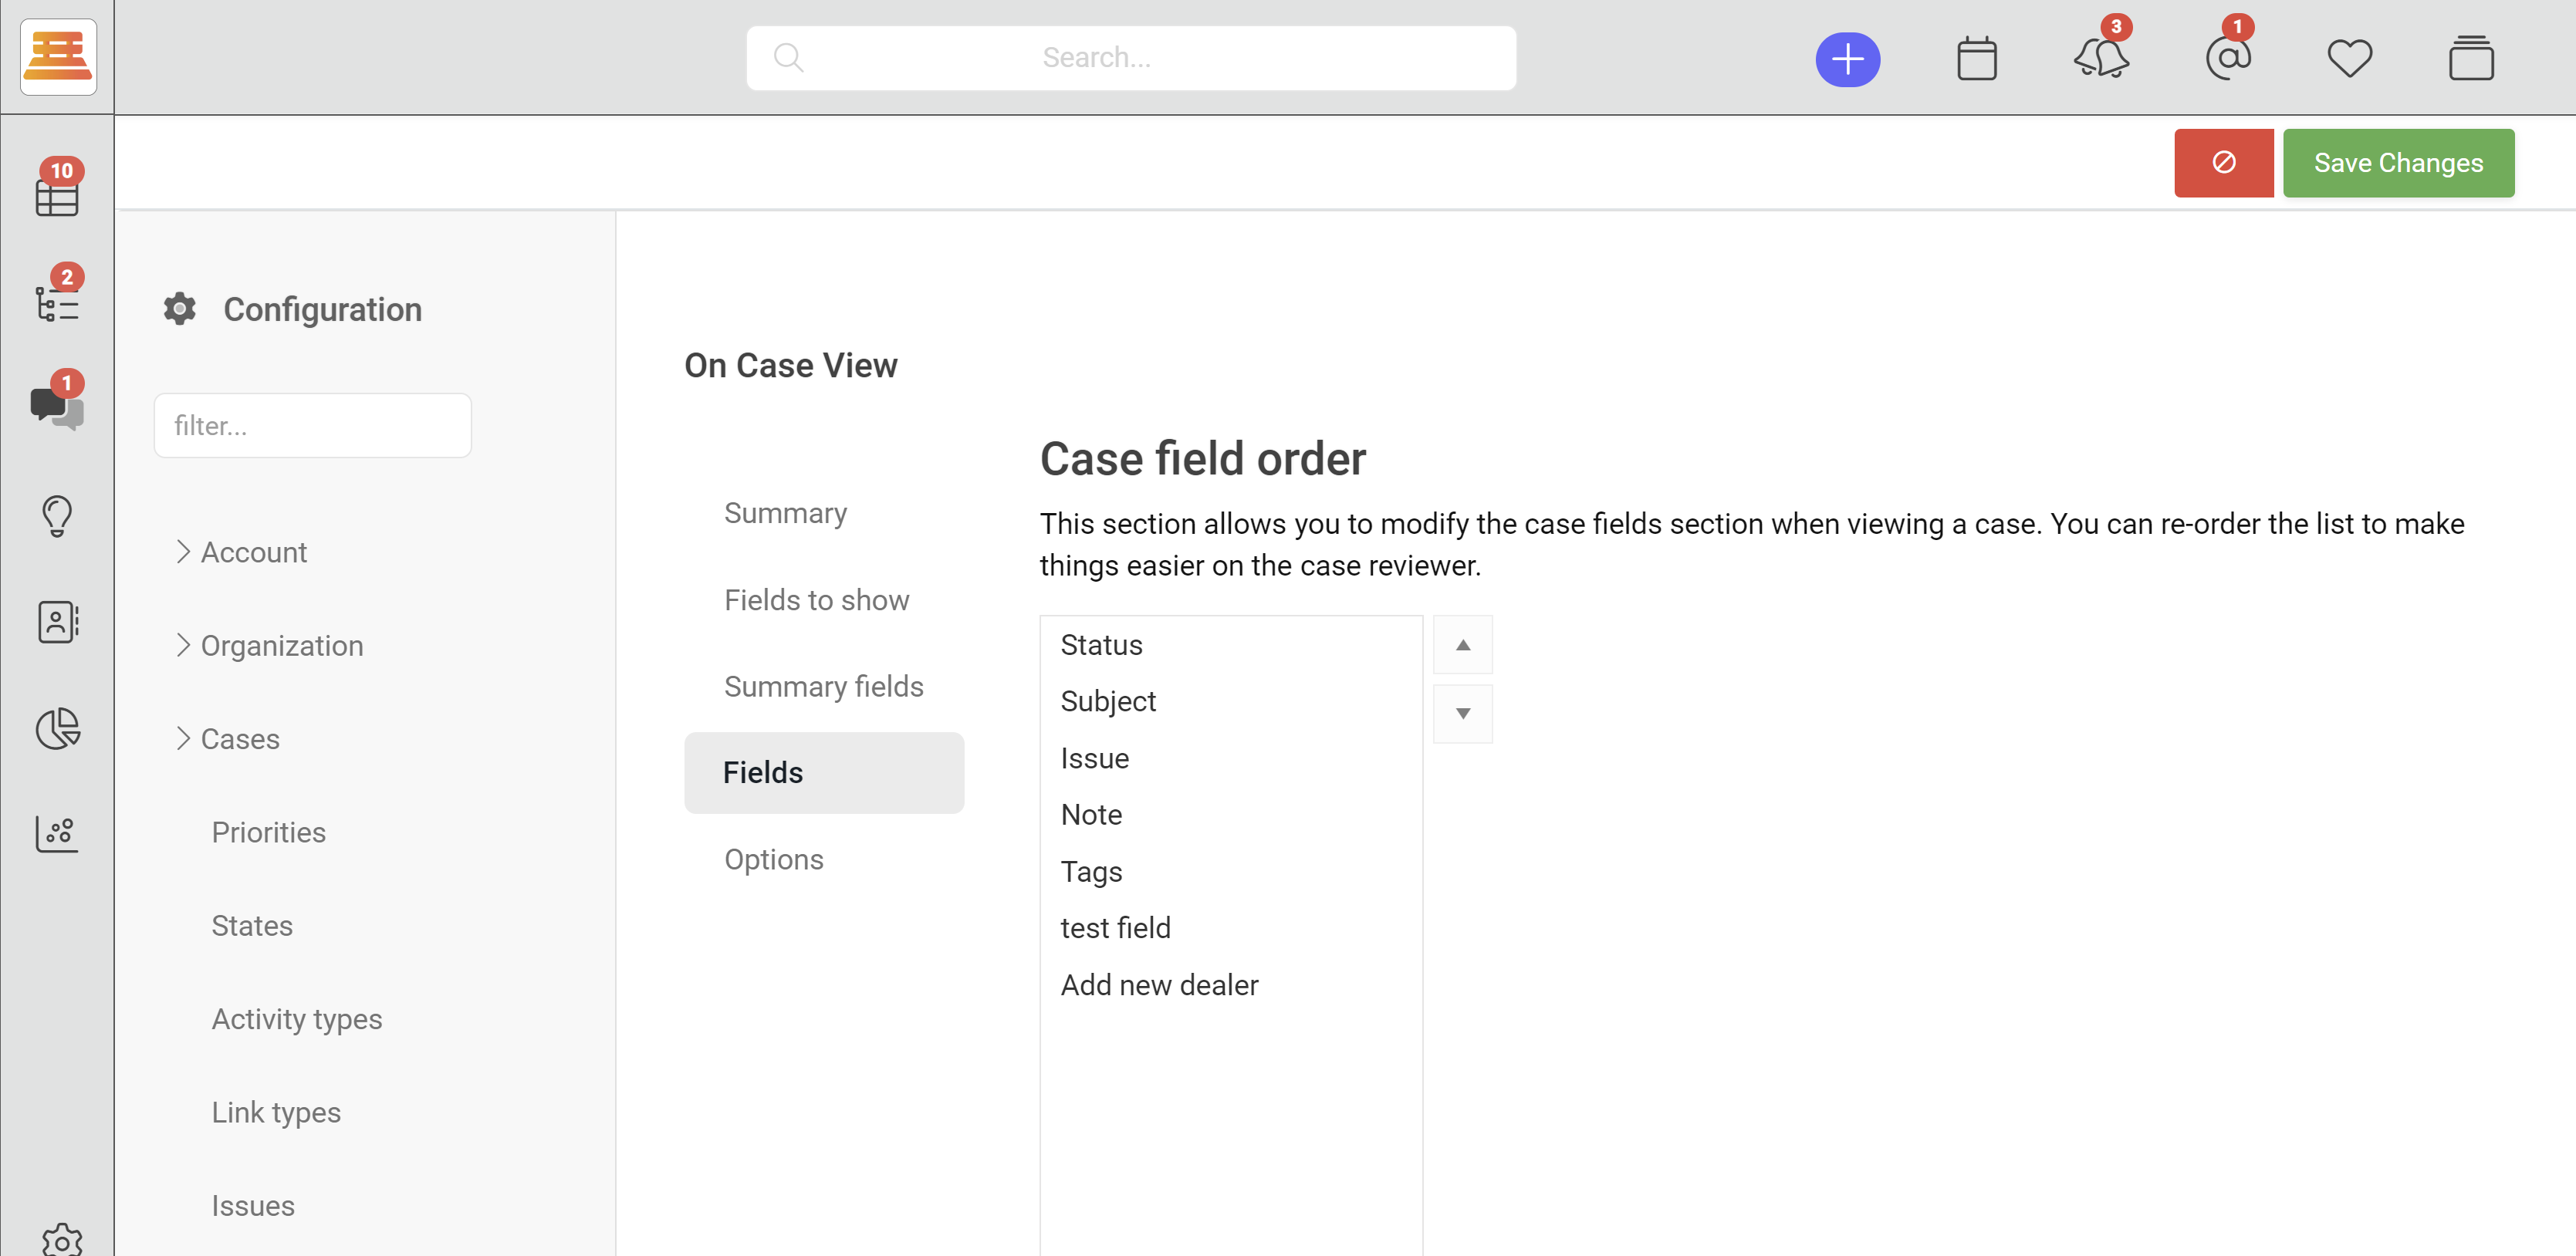
Now, we can finally navigate to "Options." This is where we can enable the Billable option, or disable the time spent timer.
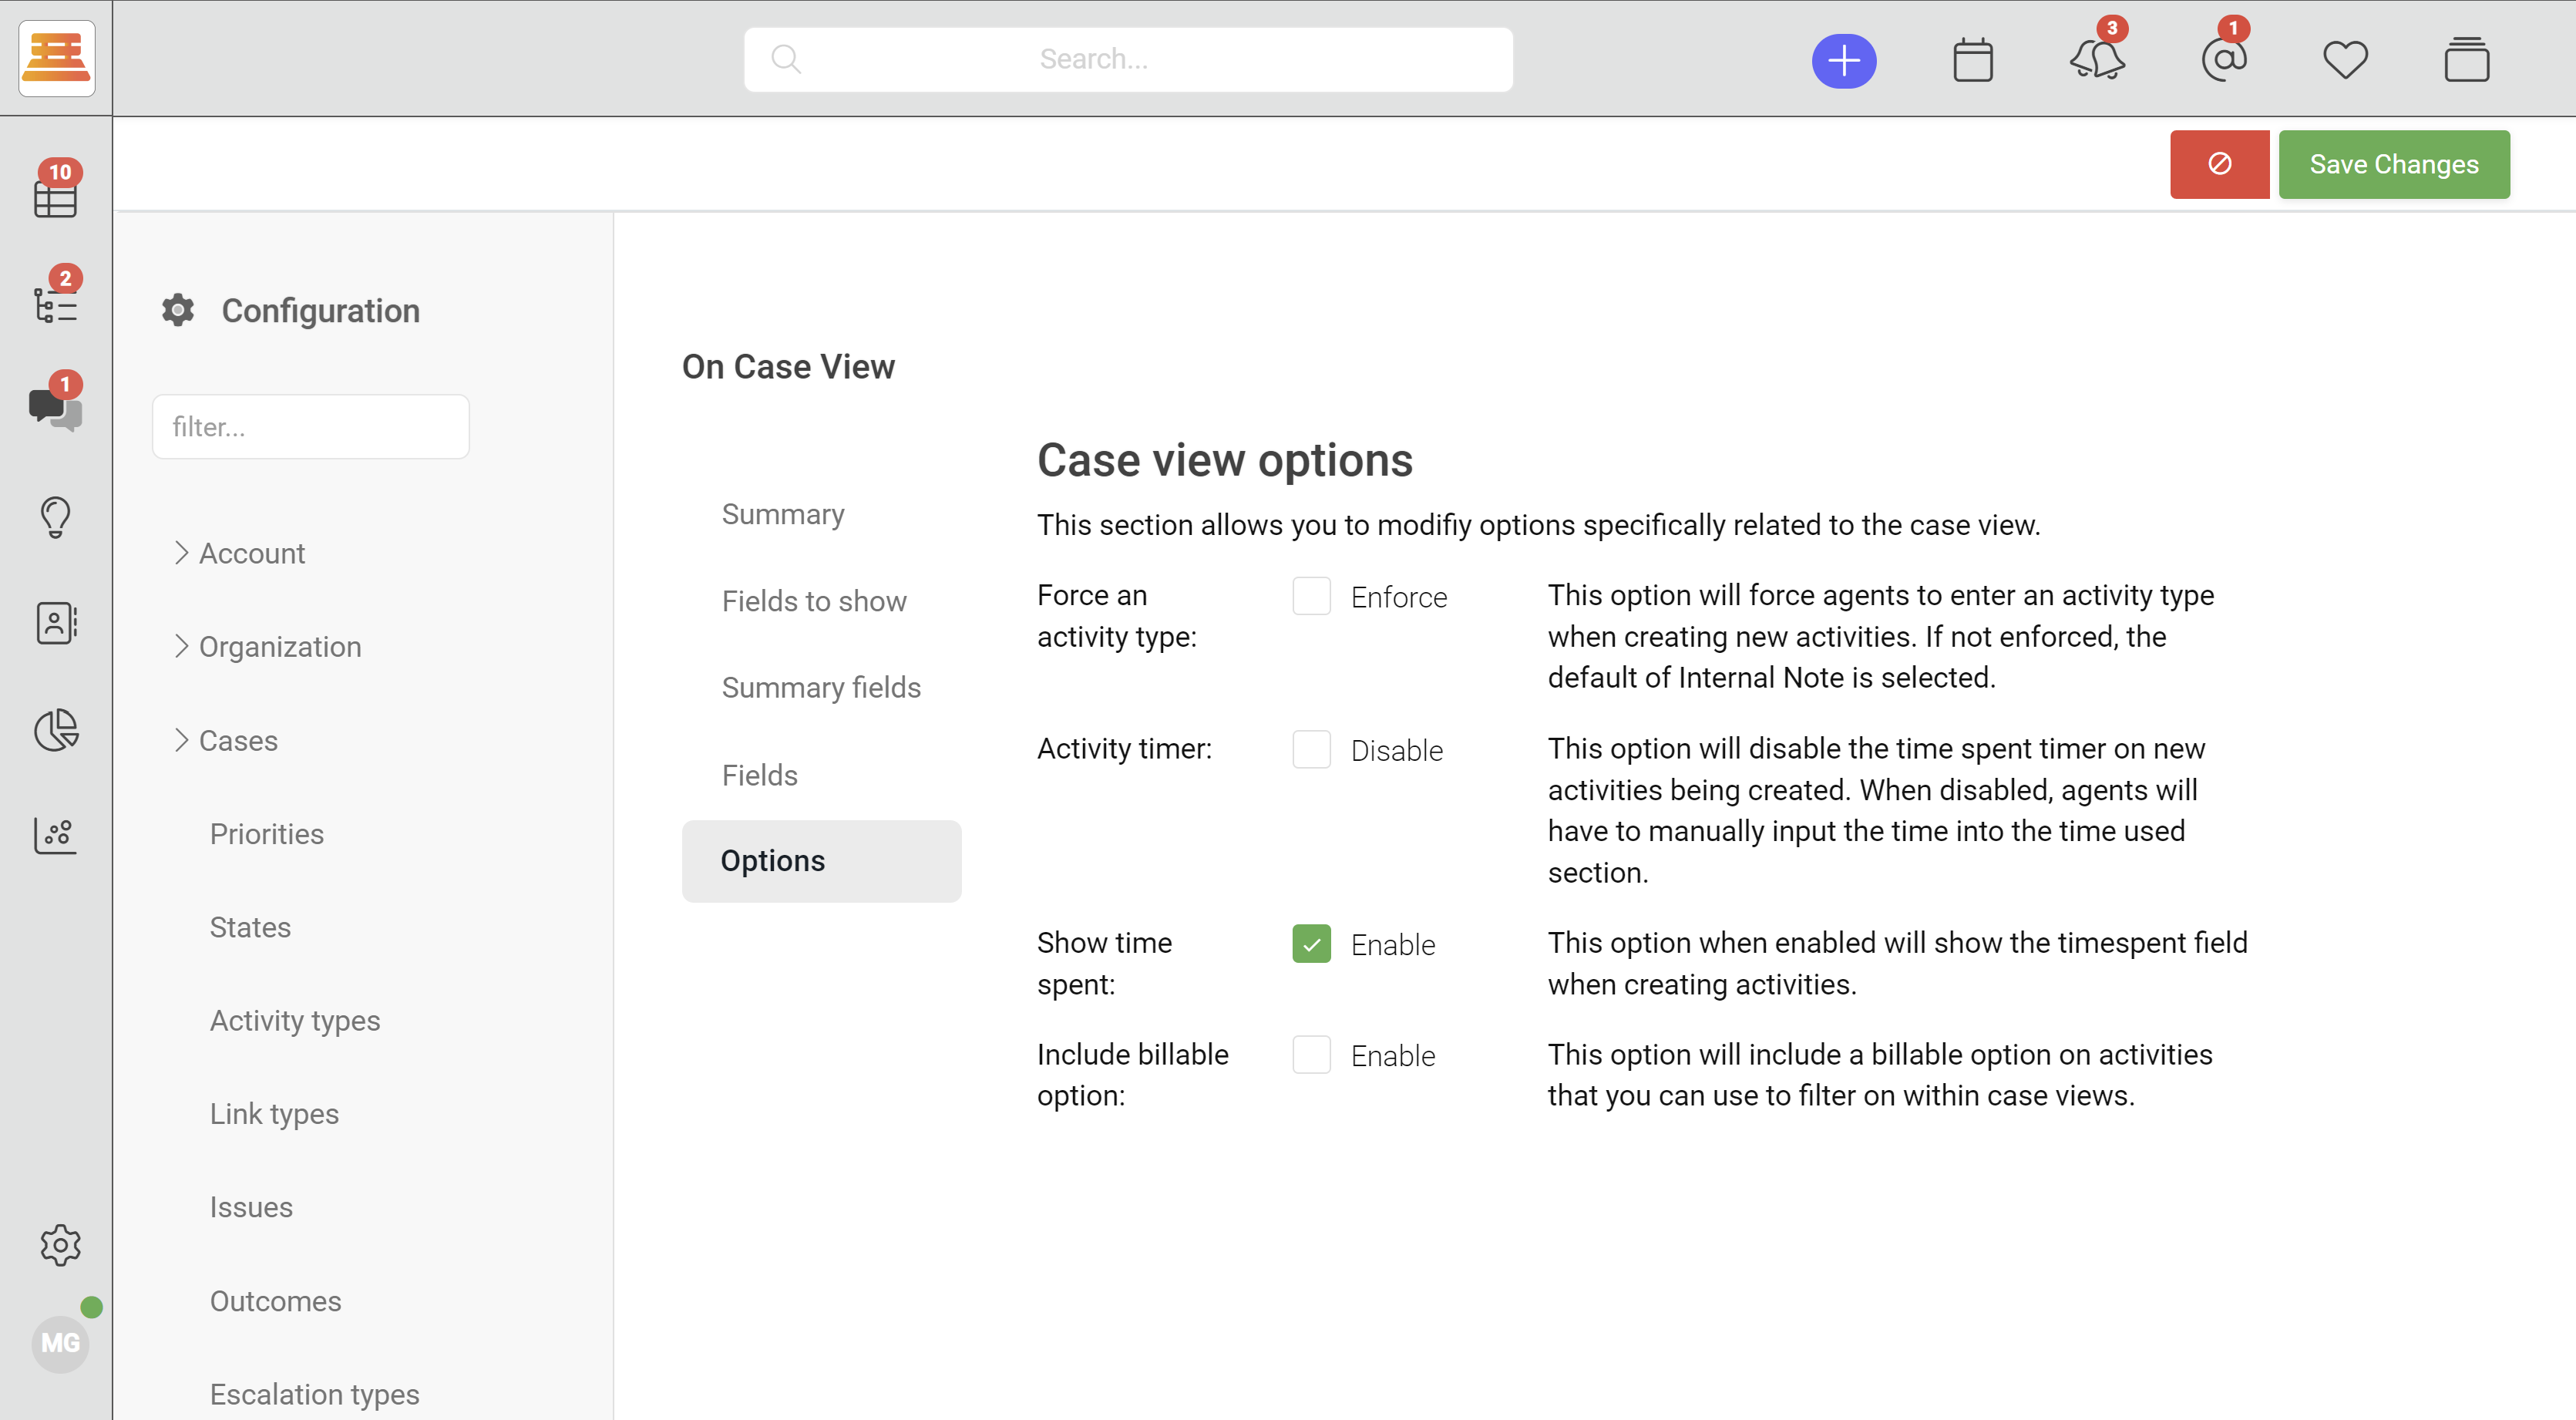
After you've chosen your options, hit Save Changes and navigate over to your first case to see how things look!
Step by Step:
- Navigate to Configuration > Cases > Policy
- Give your Policy a name and description
- Chose the Type / Location (Case View) and assign the Division
- Navigate to "Fields to show" and select any fields, including previously created custom fields, that you want to track within your cases.
- Navigate to Summary Fields and select what fields will be seen in the case summary.
- Navigate to Fields and decide on the order of which you will see the previously added "Fields to show" fields.
- Go to options and select whatever is necessary for your business requirements
- Save Changes!
Updated about 1 year ago